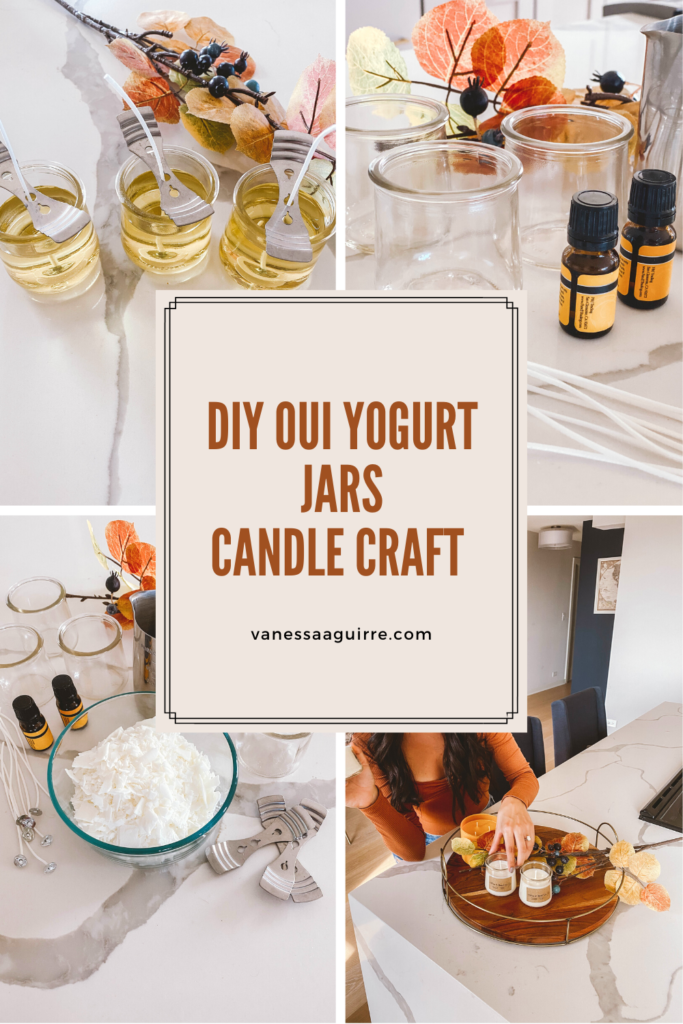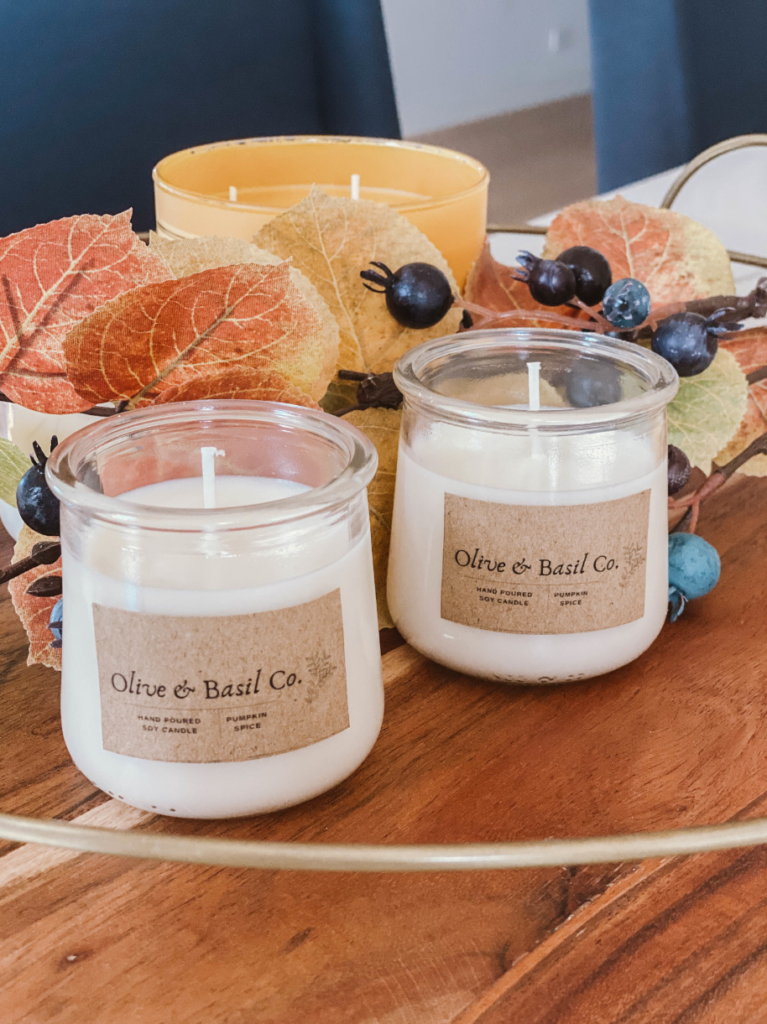
Just recently I started up-cycling my Oui Yogurt Jars to make these cute soy candles to gift to friends and family. These Oui Yogurt Jars are just so cute and I felt terrible tossing them so I started looking up ways that I could re-purpose them and I decided that making homemade candles during quarantine sounded like a fun project. Since so many of you requested a tutorial I figured I would share my process on the blog! They are super easy to make and everyone loves them!
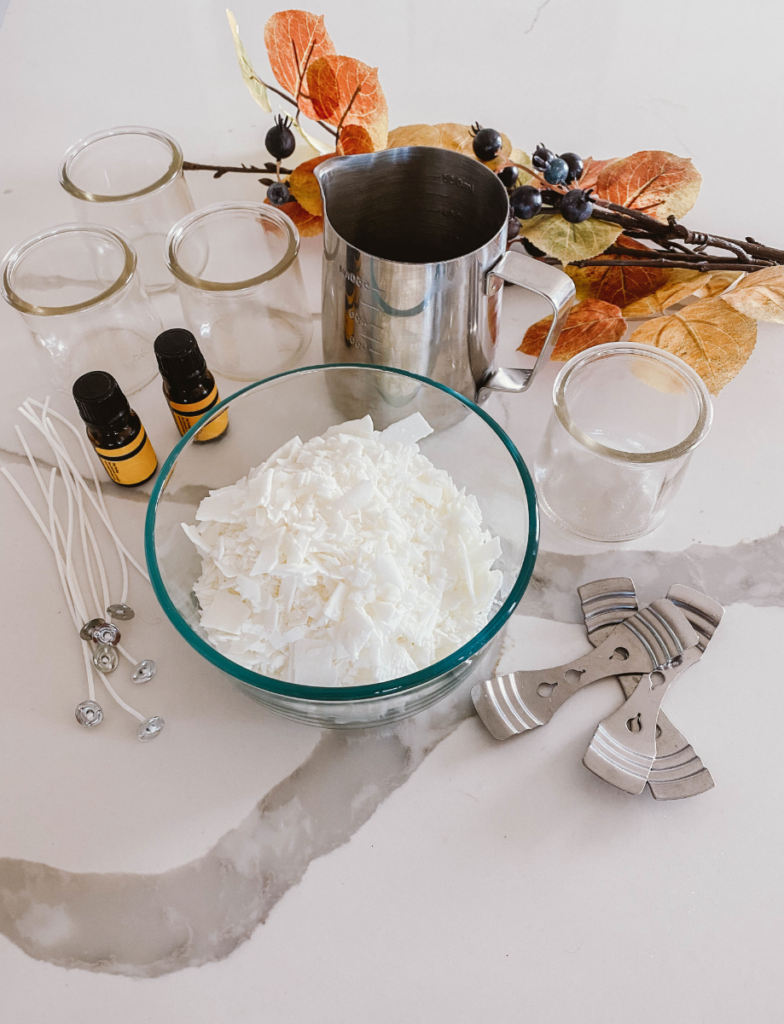
I’ve linked all that’s needed for this project here along with step by step instructions and suggestions! (Affiliate links are included on this post) Making these candles should only take around 30 min not counting the time it will take the wax harden.
Supplies Needed
- 4 Glass Oui Yogurt Jars
- 5 Cups Of Soy Wax
- Candle Wicks
- Candle Wick Glue Dots (Optional)
- Fall Scented Essential Oils
- Candle Making Kit (Includes Wax, Wicks, Glue Dots, Bow Tie Clips, Pouring Pot)

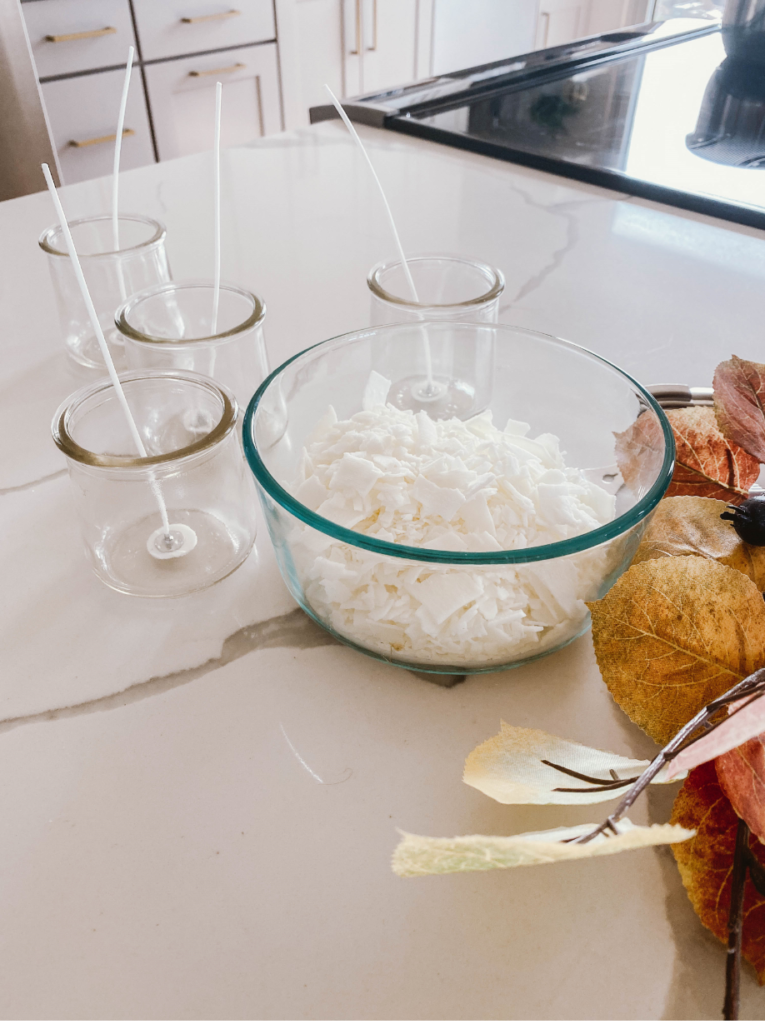
Step 1 – Prep
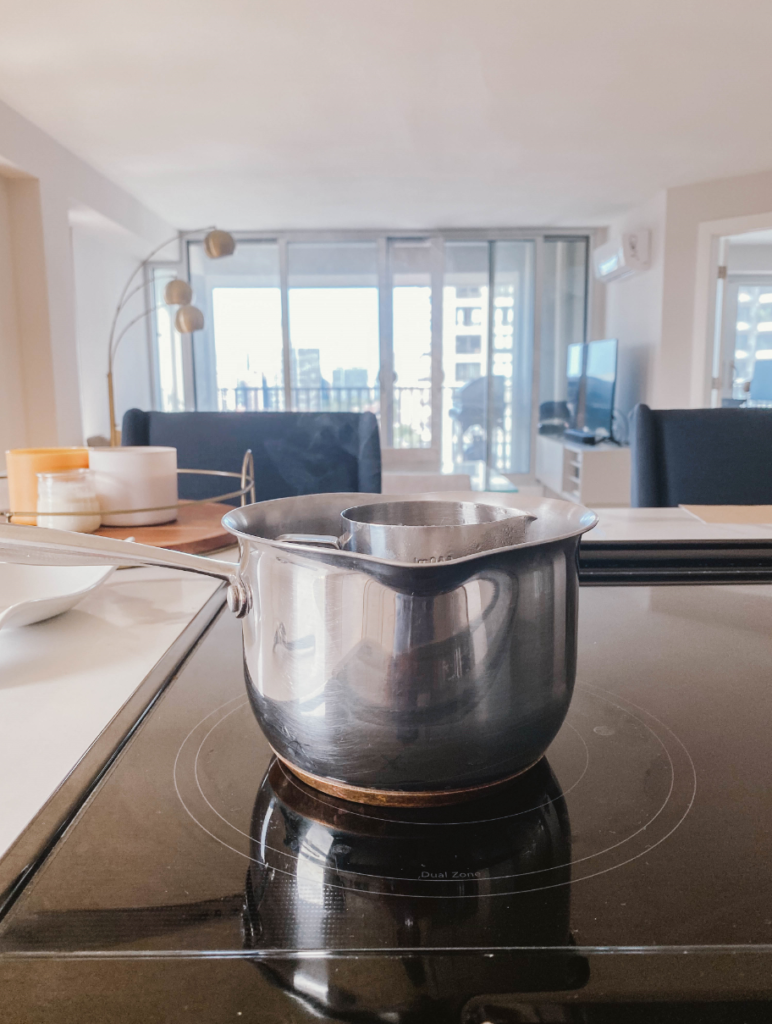
The first thing you are going to want to do is grab your sauce pan and bring 0.5 L of water to boil.
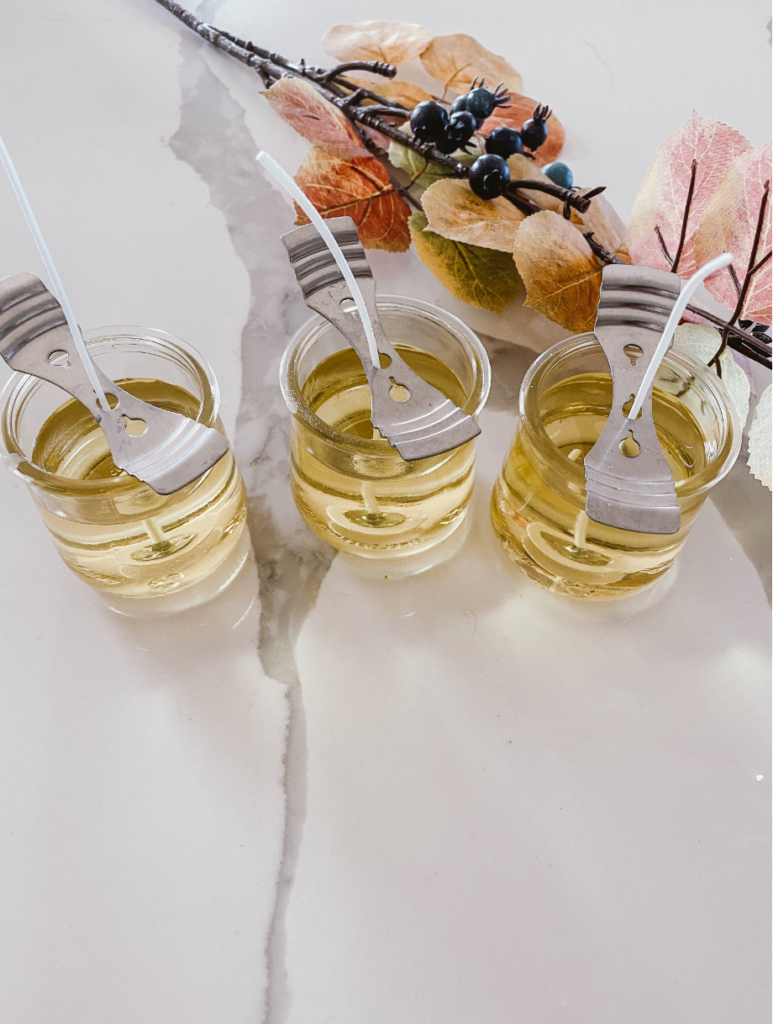
While you wait for the water to boil place the glue dots at the bottom of your glass jar, followed by the wick once you’ve washed and dried your Oui yogurt jars. The last thing you will do to prep your jars is fit the wicks through your bow tie clips so that the wick can stand upright while the wax hardens. If you do not have bow tie clips I found that using two pencils for support works too!
Step 2 – Making Your Pumpkin Spice Wax
The double broiling method is used when making soy candles so that there is less direct heat on the wax. Soy wax is highly flammable so you never want to heat the pouring pot directly on the stove!
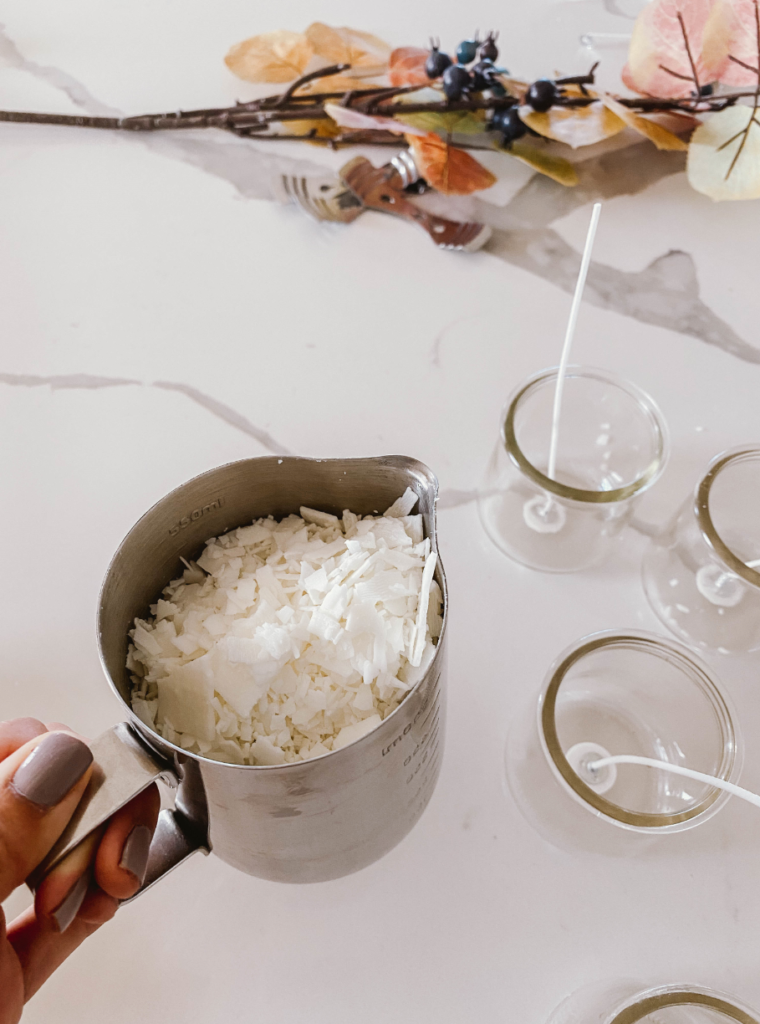
What I do is fill my 550 ml pouring pot all the way to the top with the soy wax flakes and then place the pouring pot into the sauce pan with the shallow boiling water to melt the wax. You will find that the wax melts very quickly and drops in volume significantly so what you will do is continue to carefully add wax to the pouring pot until the melted wax fills the pouring pot entirely.
Once you are left with fully devolved wax you will add 25-30 drops of essential oil to your heated wax and stir! I chose to make DIY Pumpkin Spice Candles to welcome the Fall season but you can really use any scent that fits your mood or season!
Step 3 – Finishing Your Pumpkin Spice Oui Candles
The last thing to do is to pour your fully melted wax into the glass Oui jars. What I typically do is just pour them exactly where I will leave them to harden so that I don’t move the wick in transport. They will take a few hours to fully solidify. Sometimes I speed up the process by putting them into the fridge once they have hardened up a bit (you can do this when wax no longer moves ).
Step 4 – Personalizing Your Oui Candles (Optional)
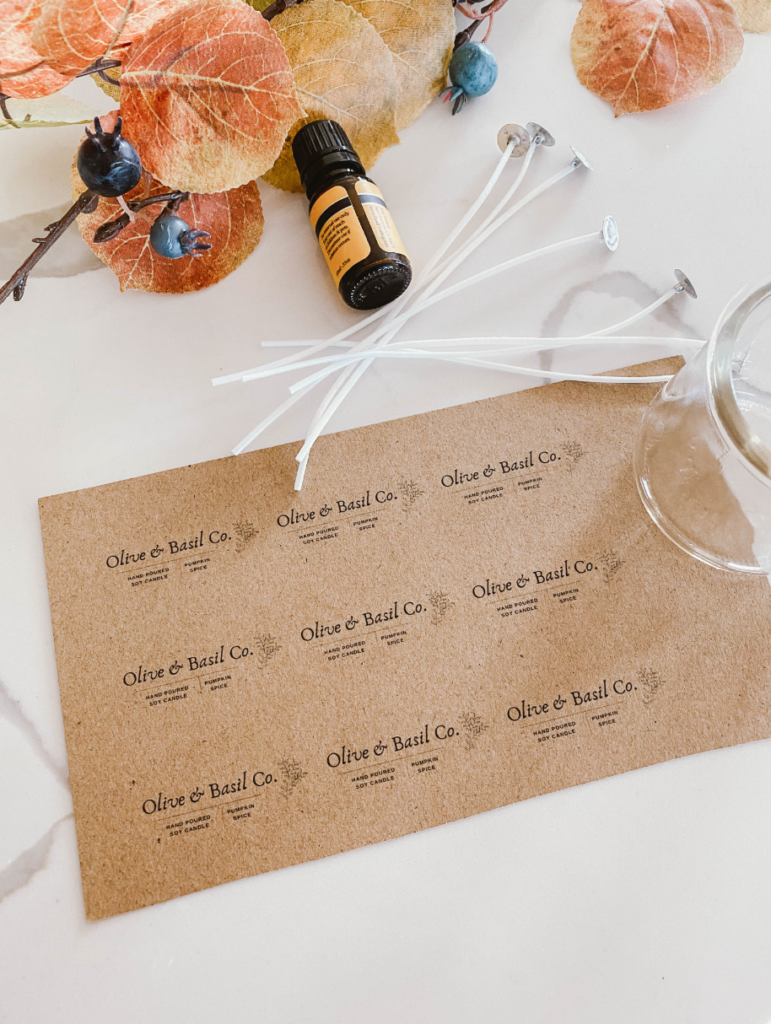
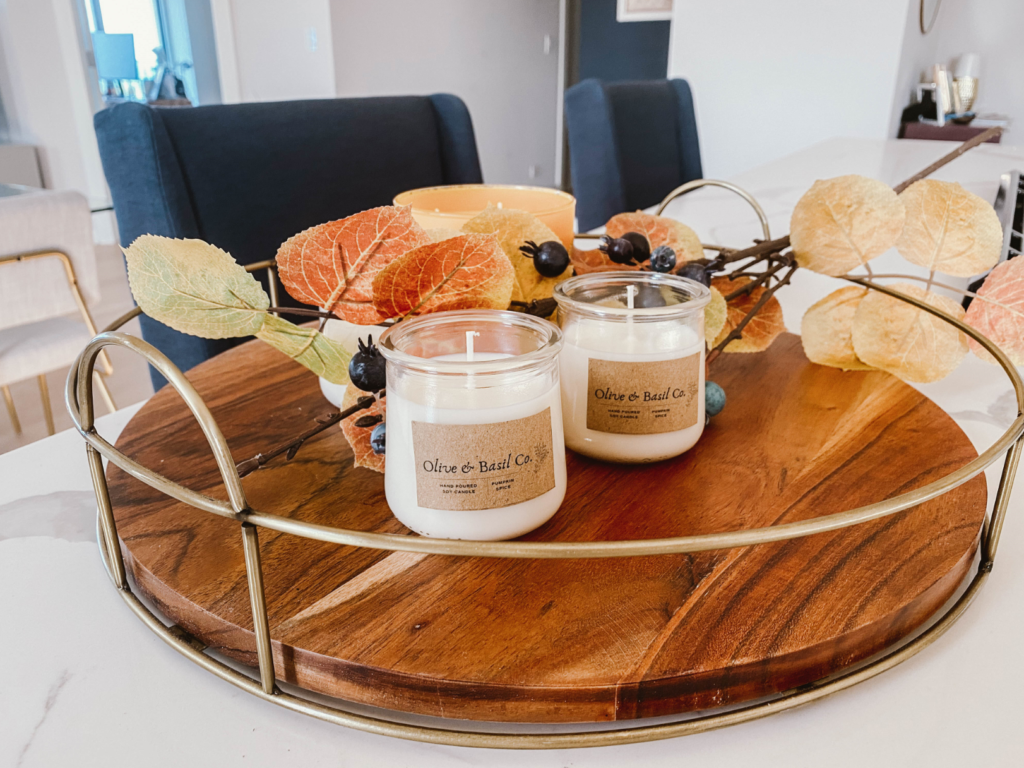
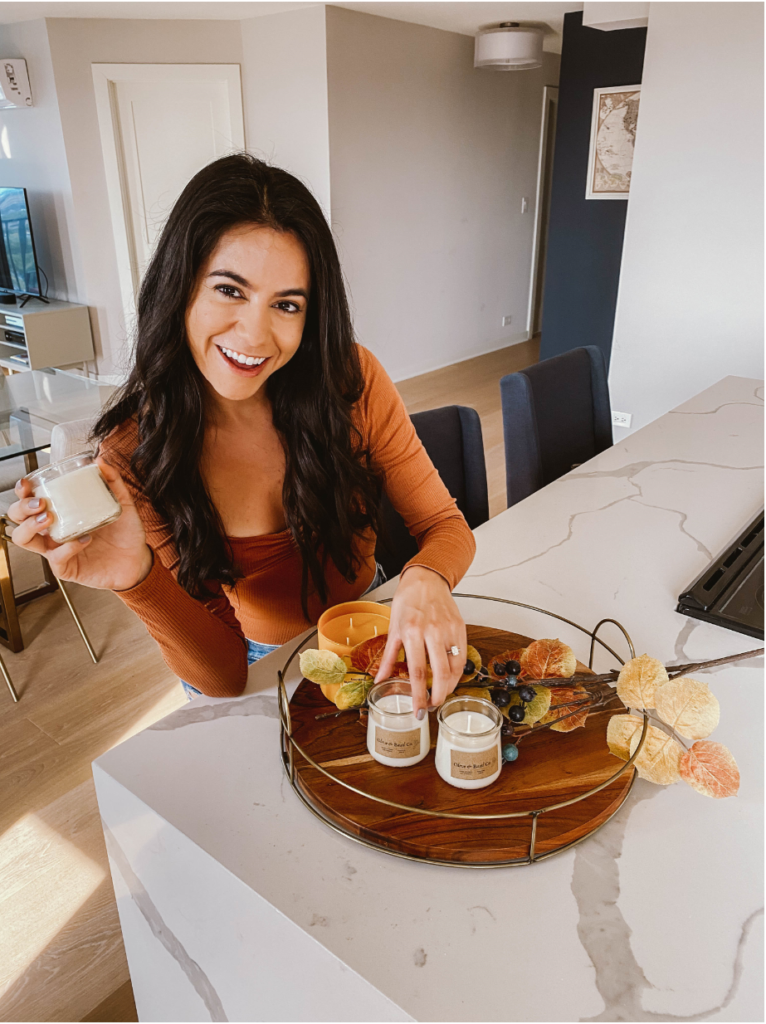
Personalizing your candles is totally up to you! For these candles I chose to create a small label on brown adhesive craft paper using a free design tool called Canva. What I did was choose create logo and then personalize the wording on the logo to make a fake brand named after my pups. You can further personalize by adding in elements too! My labels say Olive and Basil co. With a little herb on the side meant to be a basil leaf. I have also included the text hand poured soy candle and the scent of the candle batch as well. Once I created my logo with a transparent background I use the clipping tool and move it into word. To create multiple logos for the sheet of craft paper you will print on create a table in word and size the cell to the size the labels 1.5 in x 2 in for these specific sized glass jars. If you enable the grid lines it will be an easy guide for cutting too!
If labels aren’t your thing you could also consider placing things like dehydrated fruits or cinnamon sticks to give your candles a little something extra. Adding in cinnamon sticks will also to the scent once the candle is lit and warmed!
Hope you enjoyed this post! If you make these candles at home please tag me on Insta! I’d love to see how pretty yours turn out!
