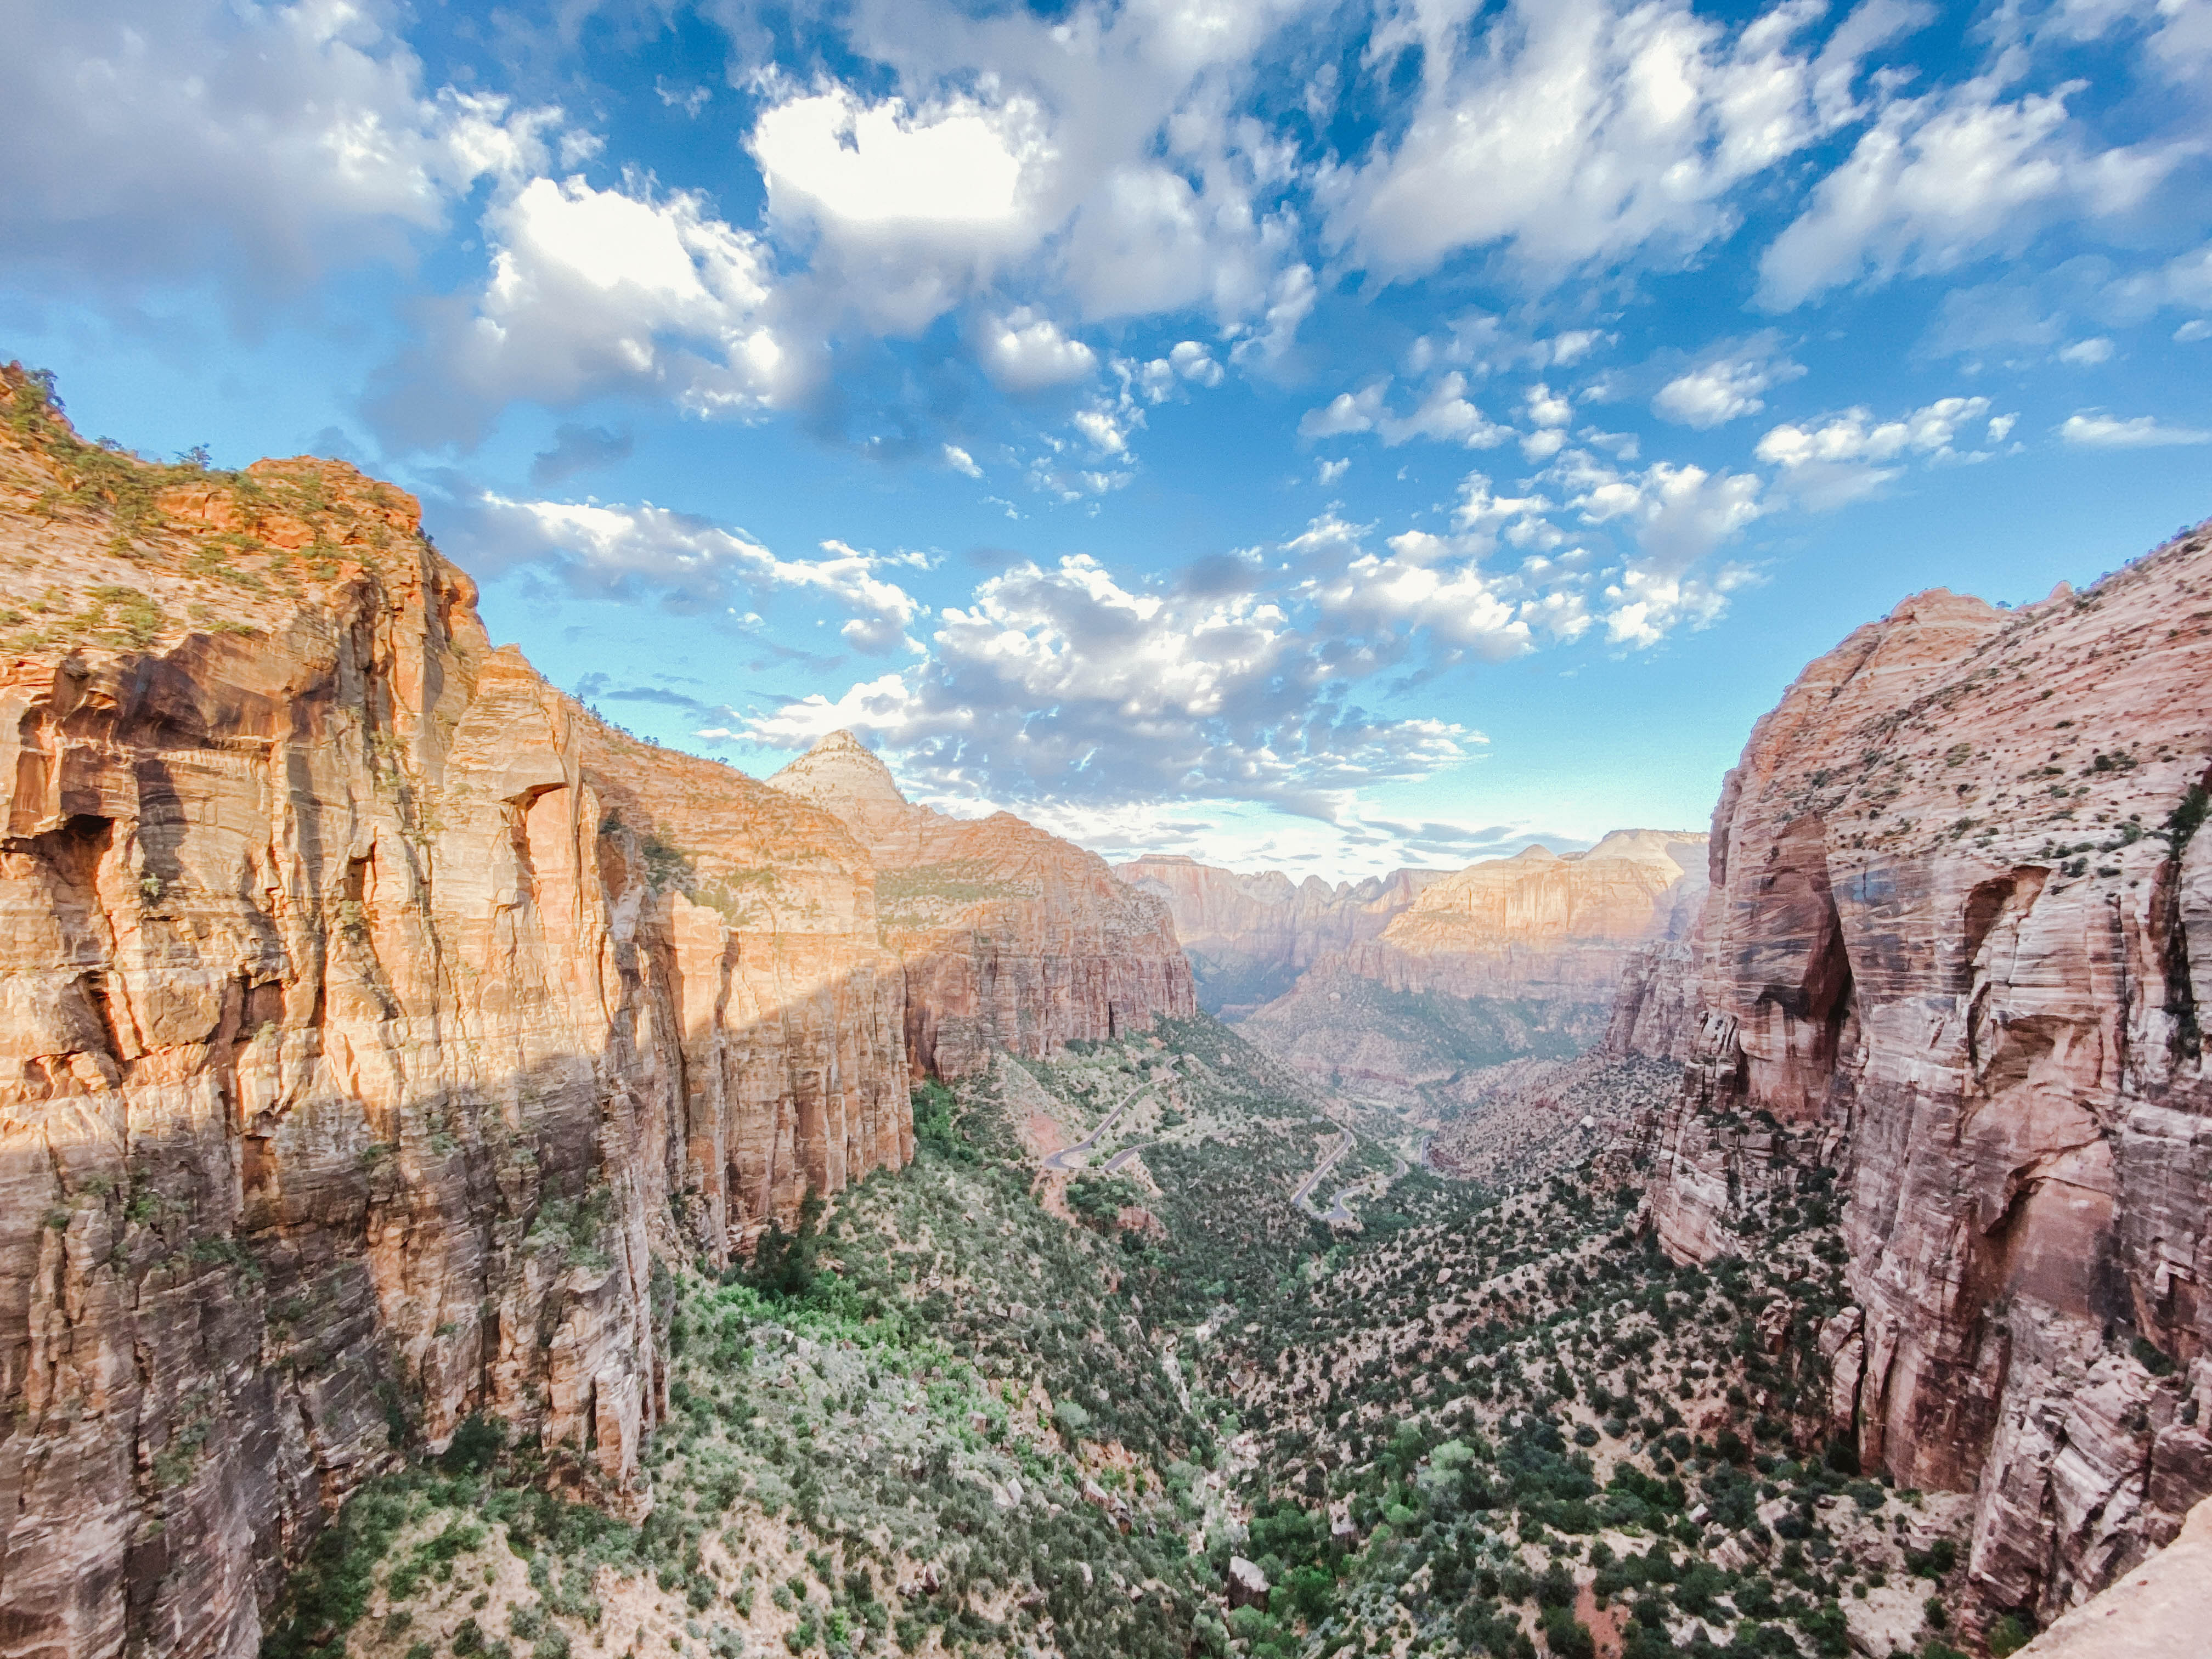
 I recently visited Zion National Park and was blown away not only by how much natural beauty there was to be explored but also by how developed for tourism Zion actually was. I have to admit that I have not prioritized visiting the National Parks so it’s not like I have much to compare it to but I was very much impressed by how much was information was laid out for visitors to really understand what your options are once you arrive! I only spent 3 days in Zion however, I felt like I really accomplished a lot in such a short amount of time. I was able to complete four hikes, go tubing down the Virgin River, and also stop into several of the local restaurants to enjoy all the Southwest flavors Springdale had to offer! Zion was a perfect destination for a long weekend trip in the US! You can certainly accomplish a lot in this short amount of time if you plan properly and know what to expect once you arrive.
Since I visited Zion during the Covid pandemic, the trails that were open were limited. You can always check what is currently open at Zion here. The information sheet will show you which trails are open. If you are planning a trip to Zion during the pandemic I recommend you check this site frequently to keep up to date. By the time I had arrived at Zion they had made changes to the shuttle bus system since the last time I had checked the site and that threw my plans off. So I can’t stress this enough! This guide is based on how I would have structured my trip in hindsight!
Best Time To Visit Zion National Park
If you are planning a trip to Zion I recommend visiting March – May, or September – November so you can enjoy all of the beauty that Zion has to offer, while avoiding the scorching heat. I personally visited in July and managed by planning my hikes in the very early morning before the sun was at its strongest and booking at a place that had a pool. This is basically essential if you are visiting the dessert in the summer!
How To Get To Zion National Park
To get to Zion you will want to fly into the Las Vegas Airport and then drive over to Zion National Park. The drive was around 2.5 hours. I recommend renting a car as it will allow for more flexibility. Even though Zion National Park has a great shuttle system it was nice to have the car to visit the Zion Overlook trail and also to stop into the some the eateries that weren’t within walking distance of our hotel.
 Where To Stay In Zion National Park
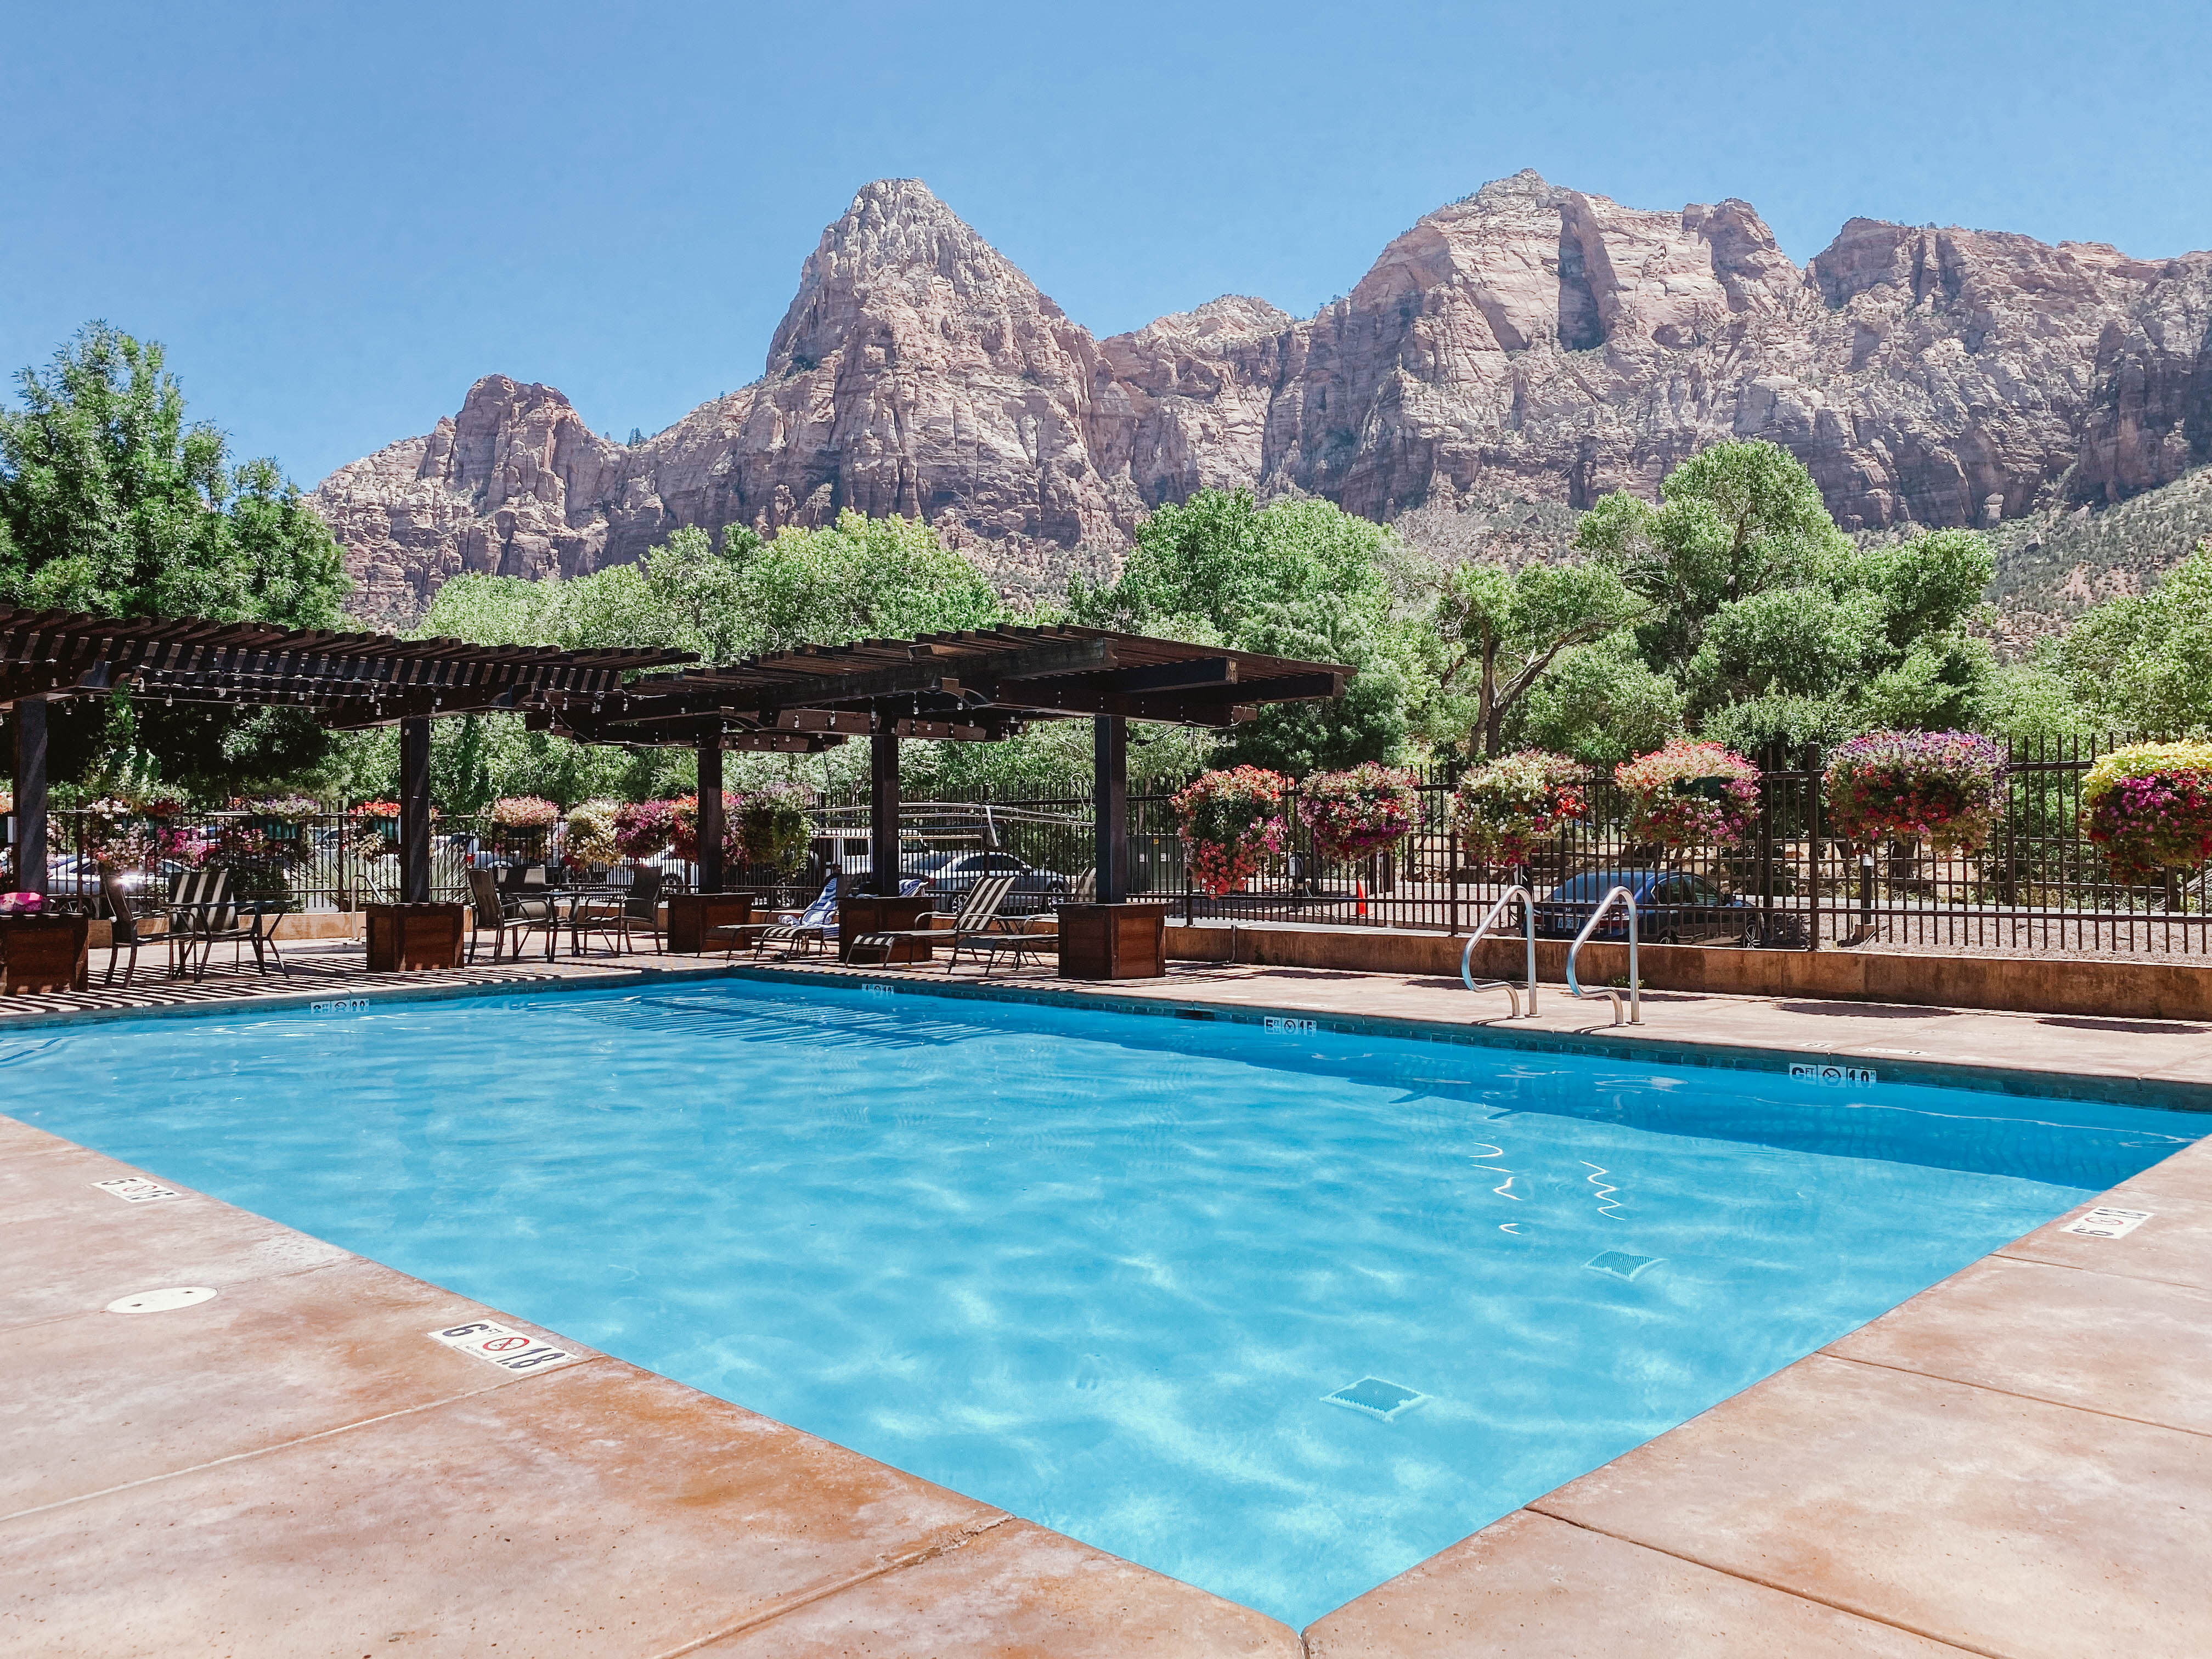
Zion National Park is actually located in the town of Springdale so if you are looking to maximize your time in Zion National Park I’d search for hotels or Airbnbs in Springdale rather than adjacent towns like St George.
During my visit I stayed at the Cable Mountain Lodge and honestly when I booked this stay I had no idea how perfect this booking was! The Cable Mountain Lodge is the closest accommodation to the Zion Visitors center which is where you will be picking up the shuttle bus to take you to most of the trails. It is also right next to the grocery store as well as the Zion Outfitters where you will pick up the rentals for the Narrows as well as where you can buy inner tubes to go floating down the Virgin River. I knew that this hotel lodge was close to the Zion entrance and had a beautiful pool but I didn’t know until I arrived that they also had grills and picnic tables set up for their guests overlooking the Virgin River! We ended up buying stuff to bbq at the grocery store and grilling each day for lunch which was a nice savings! I would HIGHLY recommend staying here!
Zion Trails + Zion Shuttle Bus
The first thing that you have to understand when planning your time in Zion is that there is a shuttle bus which you will need to take in order to get to some of the popular trail heads such as Scott’s Lookout, The Narrows, and Emerald Pools. It’s important to know that currently the shuttle buses are running on a ticketing system with designated time blocks. Tickets for the shuttle bus go on sale the day before at 9 am MT. You can purchase your shuttle tickets on this site for $1. Make sure to be within service area by 9 am because the early morning slots do sell out within minuets. Some of the trails are accessible without the shuttle so my itinerary is based on stacking hikes that do not require the shuttle pass on the same day. Something else to note is that in order to enter the Visitor’s Center you will need to purchase a 7 day pass for $30 and you will need to show it each time you want to enter to access the trails within, or the bus.
The Perfect 3 Day Zion Itinerary
Day 1 – Zion Narrows or Kayenta to Upper Emerald Pools (Shuttle Bus Required) + Floating Down The Virgin River
Since you will be waking up to your first full day at Zion, it is assumed that you will have been within service range the day prior and were able to buy your shuttle bus ticket! Your first full day should be spent either visiting the Zion Narrows or the Emerald Pools.
 Upper Emerald Pools
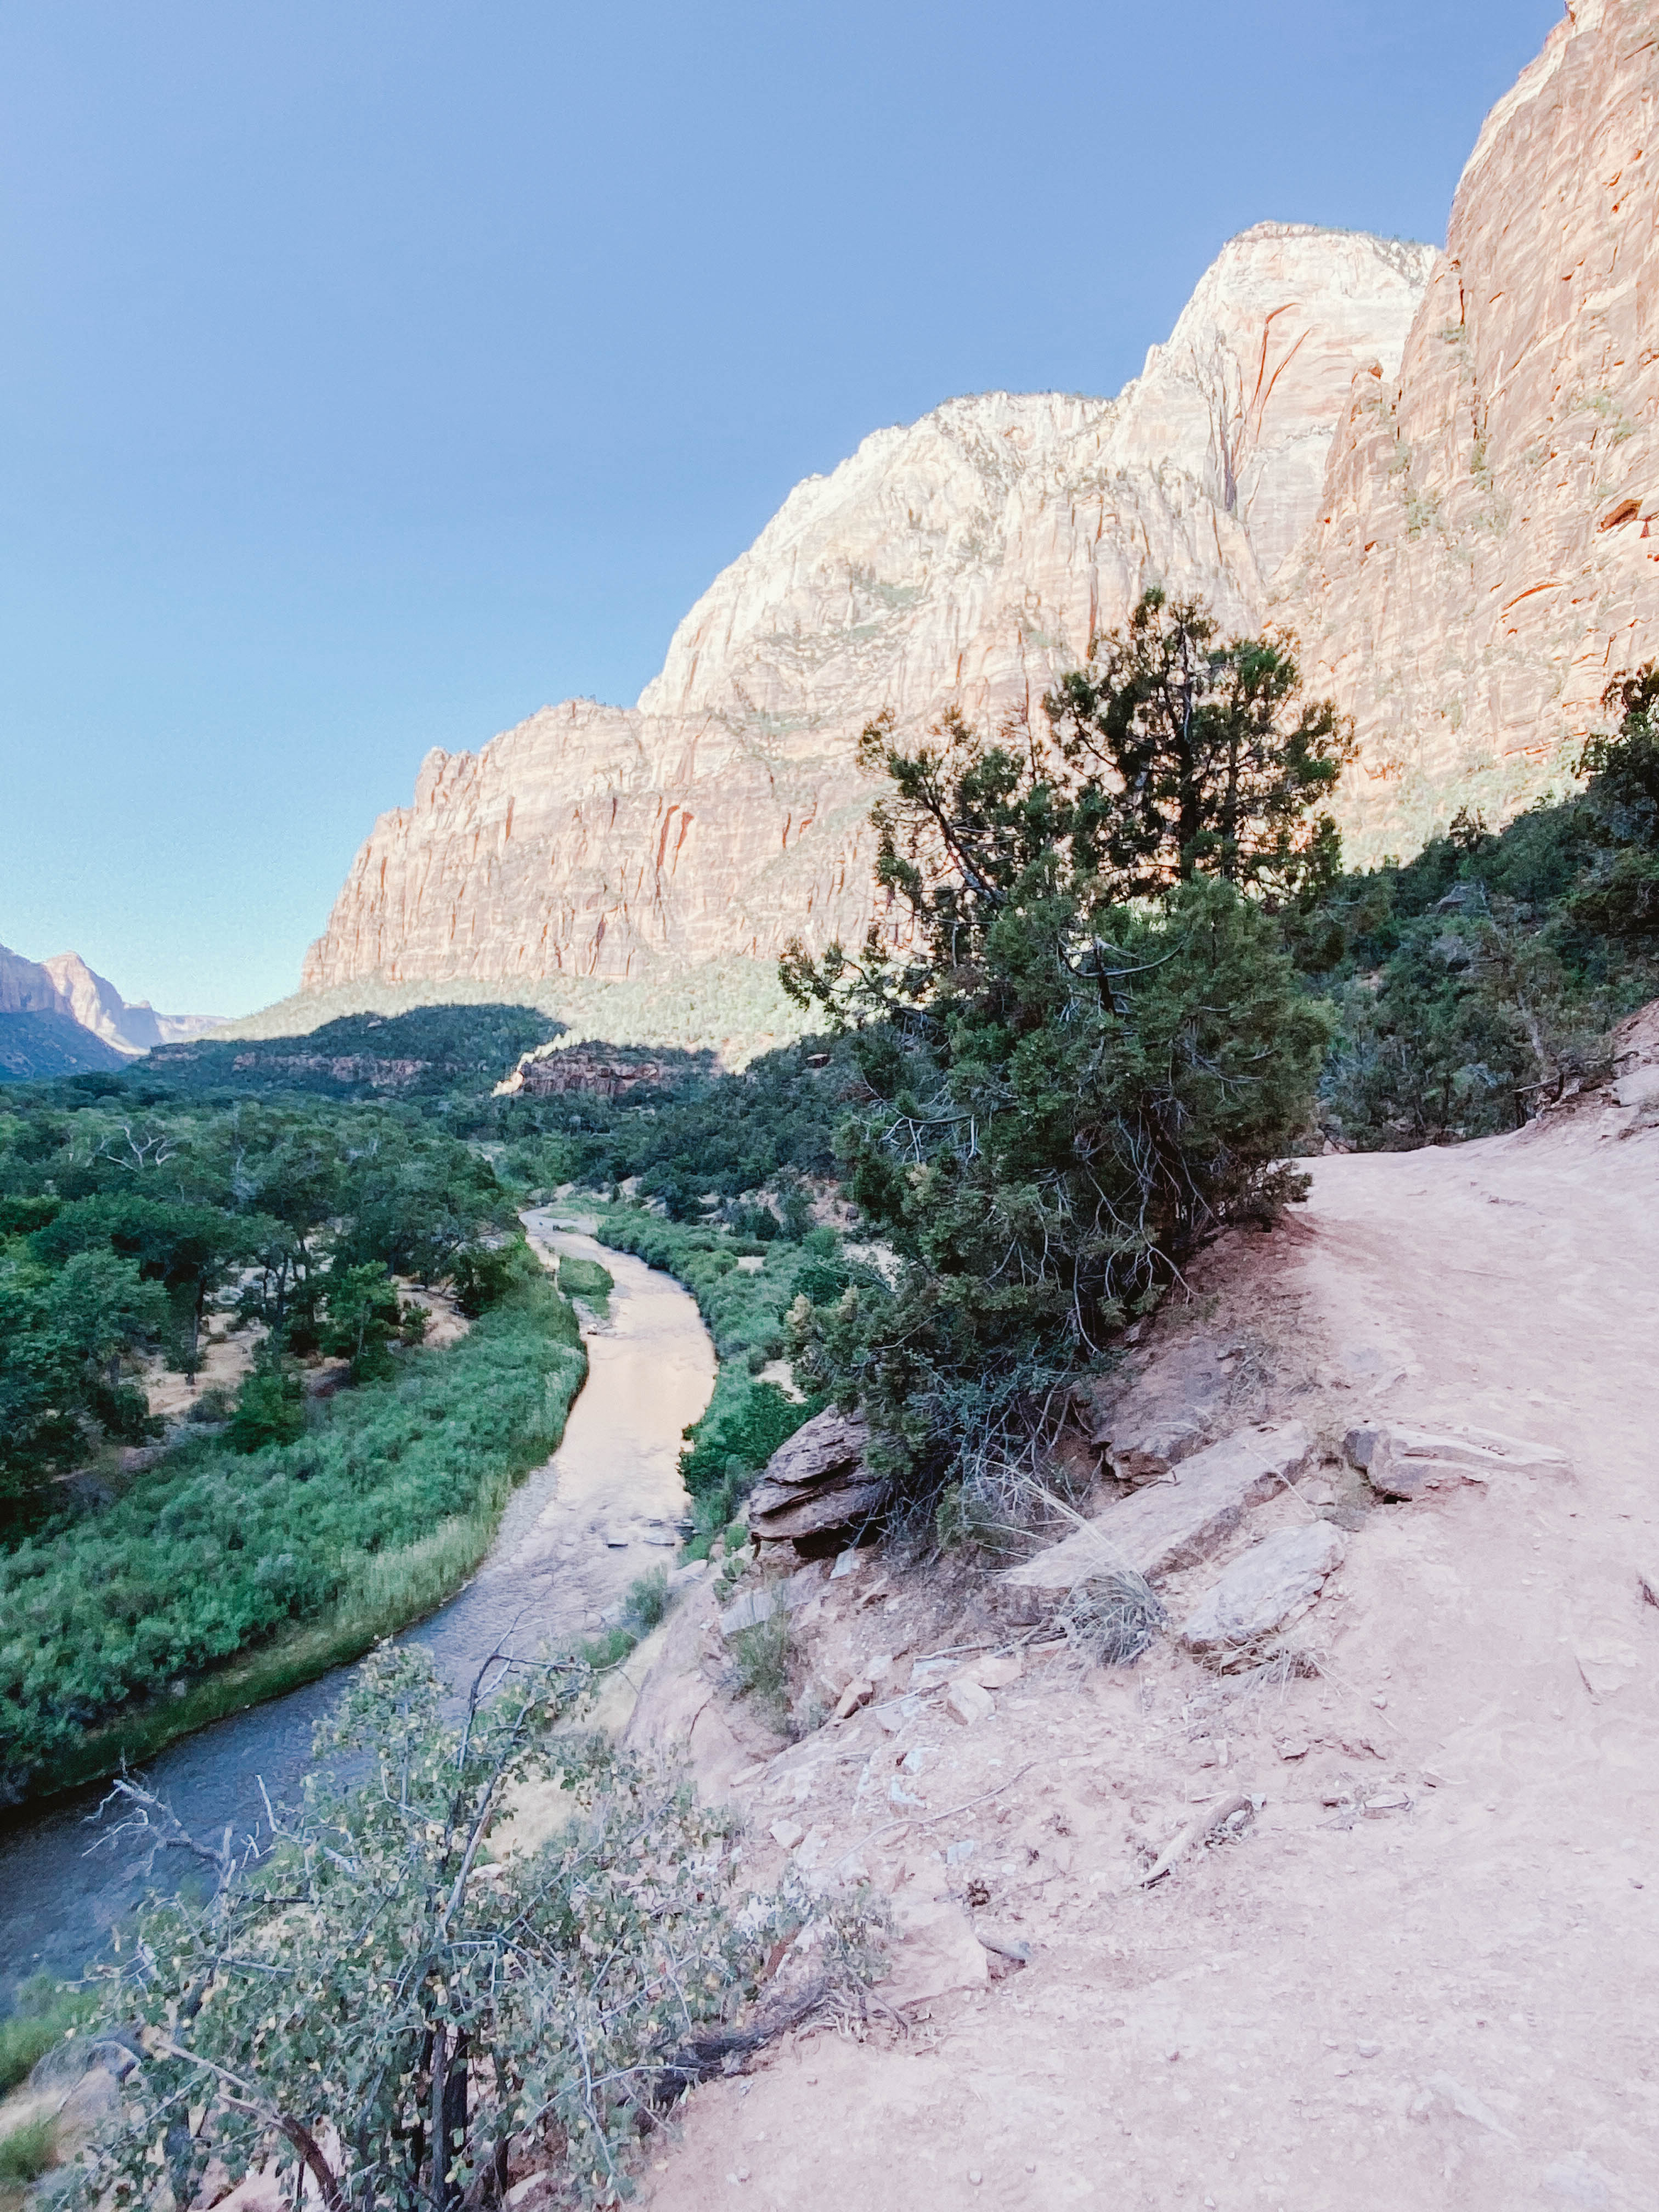
On my visit to Zion I chose to hike the Kayenta Trail to the Upper Emerald Pools, but what I didn’t account for was the time of year I was visiting Zion, so the waterfall was actually dry. In hindsight, visiting the Narrows would have been the better choice. To get to the Upper Emerald Pools you will have to take the shuttle bus from the Visitors Center to the Grotto stop. The hike to the Upper Emerald Pools actually starts with the Kayenta trail and it was just stunning! You get breath taking views of the Virgin River from an elevated view as you make your way to the Upper Emerald Pool trail. The hike is moderate and did have many stair steps along the way. It was about 3 miles of hiking all together and took around 2.5 hours there and back.
The Zion Narrows
Although I didn’t visit the Narrows on my trip to Zion I can share with you that in order to go prepared you will need to pick up your rentals at Zion Outfitters located right near the Visitors Center. The rentals include water boots and a thick wooden walking stick for balance as you walk against the Virgin river’s current. The rentals run for $25/person. The Narrows are classified as a strenuous trail because it’s 8 miles in and out and it does get rough at some point however, I spoke with a woman who was staying at my hotel and she did share with me that you don’t have to commit to the full 8 miles. Most will go in a few miles and turn back. She did mention that there is a lot of beauty to be seen within the first few miles. To get to the Narrows you will pick up the shuttle at the Visitors Center and take it to the Temple of Sinawava stop.
 Floating Down The Virgin River
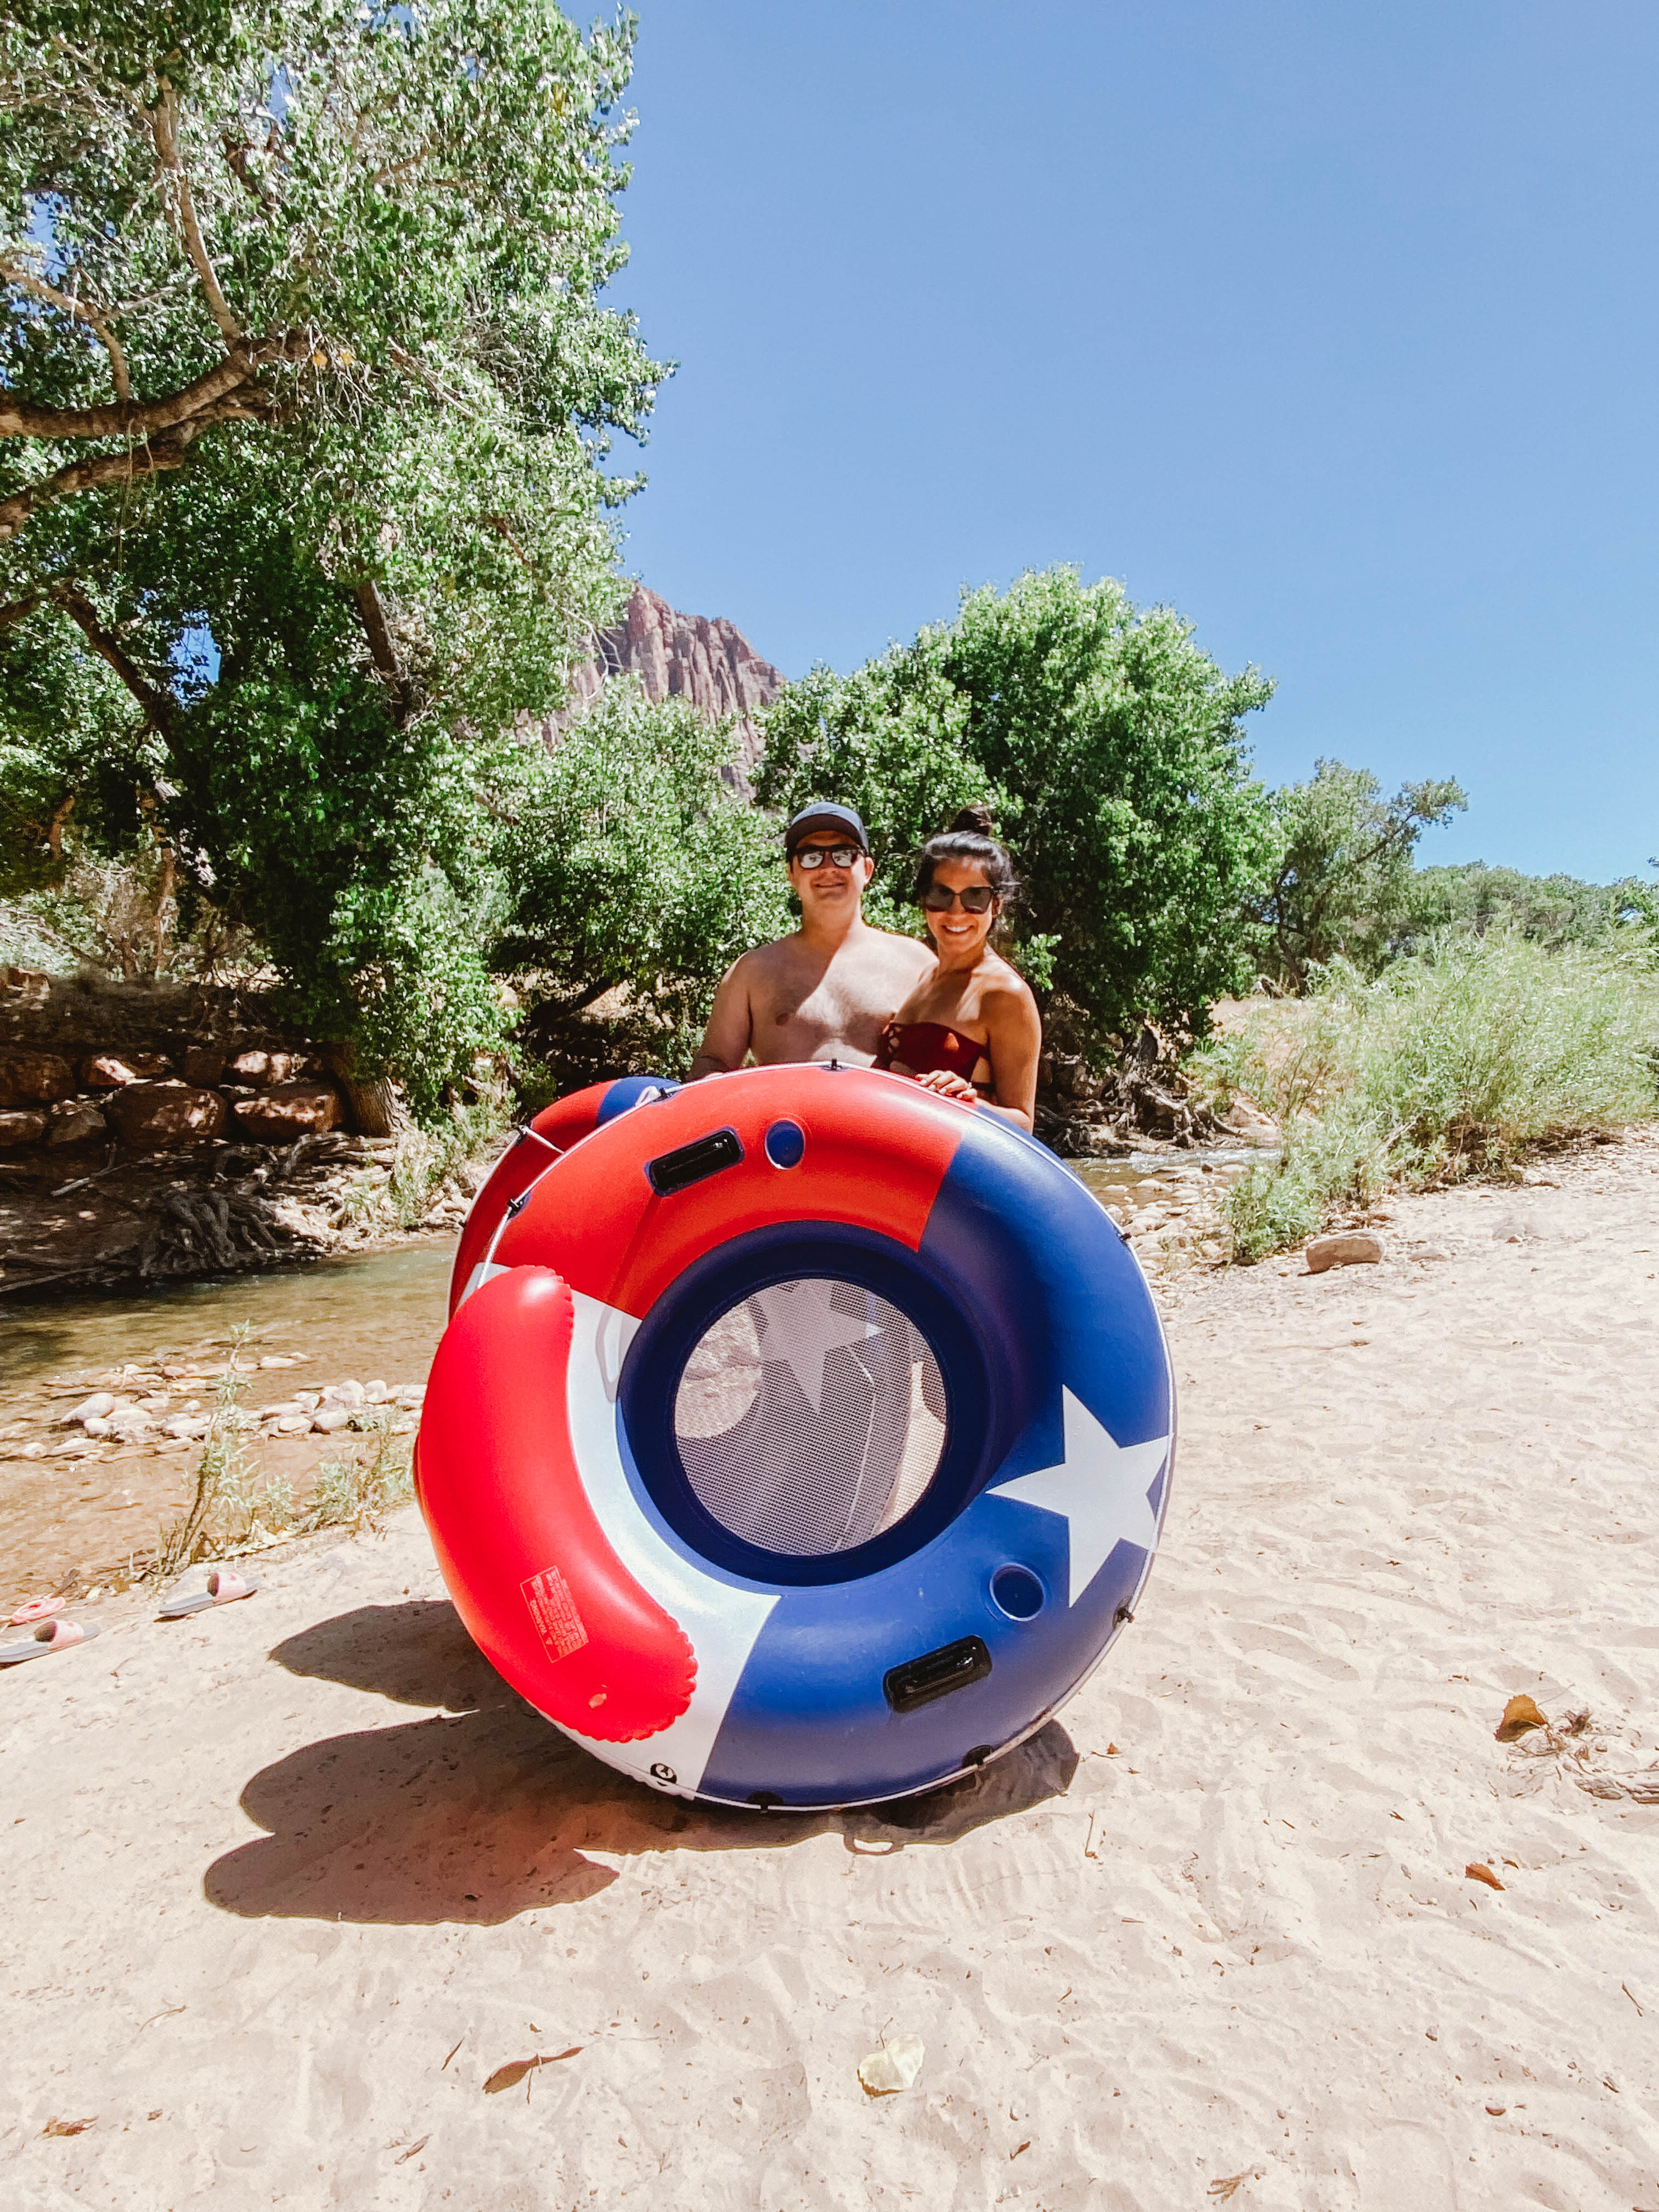
Since I was staying at the Mountain Cable Lodge which is situated right along the Virgin River I could see that people were floating down the river on inner tubes and it looked so fun I just had to do it! I found out that you could purchase the inner tubes at Zion Outfitters for $40. Once you purchase it they will inflate it for you with their air compressor and then you actually get into the river right behind the air compressor station! You will float down about 200 meters and you get out right after you pass the Cable Mountain Lodge, carry the inner tube back to where you got in, and repeat! We ended up going about 4 times and then tying ourselves to some limbs and just relaxing in the river with our drinks. This was such a fun experience and so refreshing after a hike!
Day 2 – Zion Overlook Sunrise Hike + Watchman Trail (No Shuttle Bus Required)
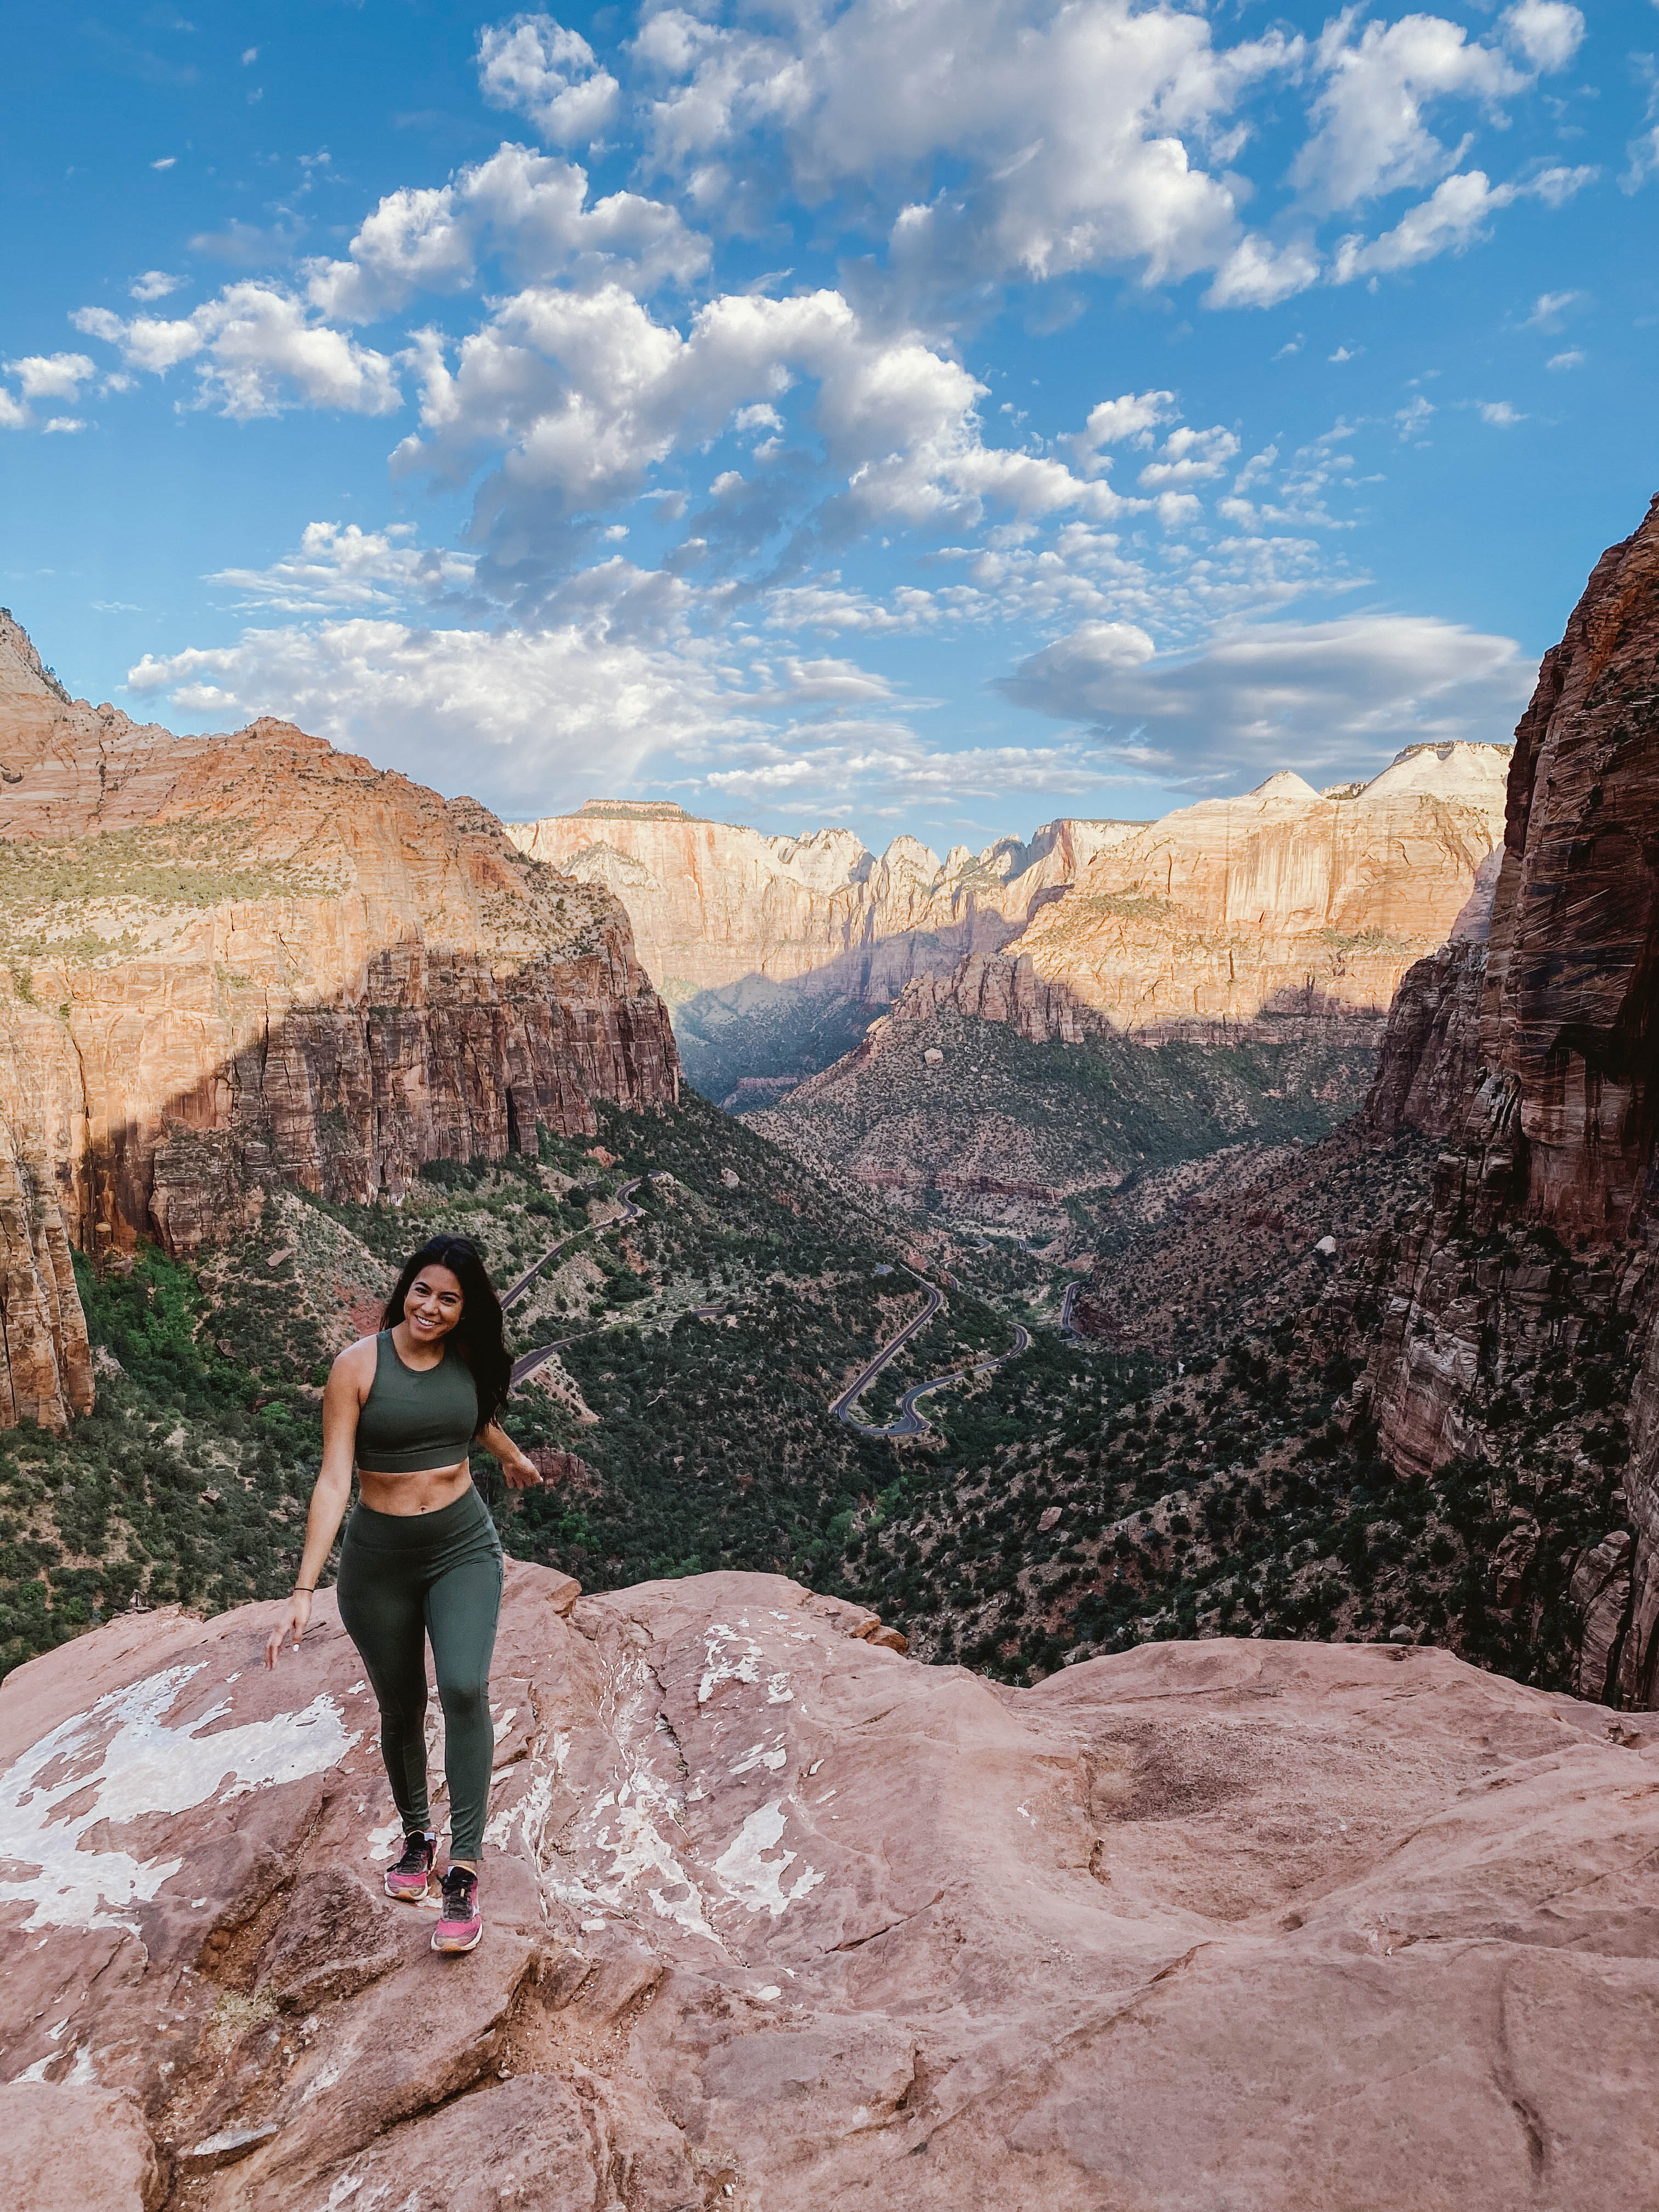 Zion Overlook
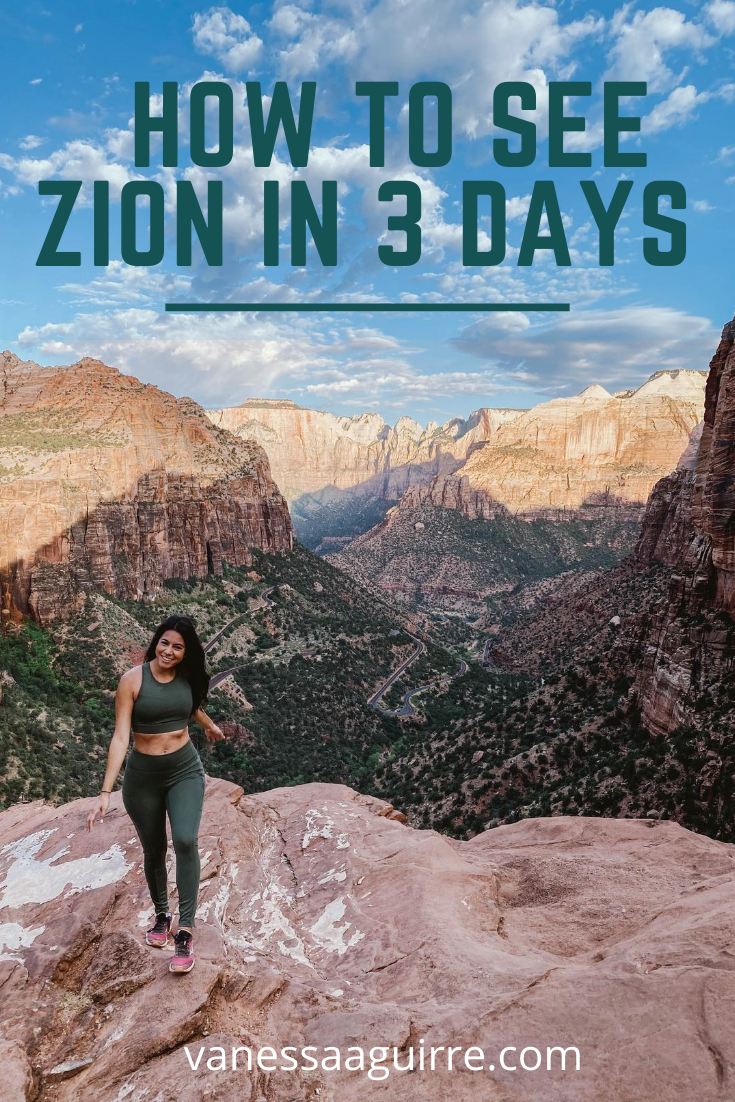
Start your day bright and early with a sunrise hike at Zion Overlook. I promise it is worth it!!! This was the most impressive view of all. You get a panoramic view of the entire canyon!
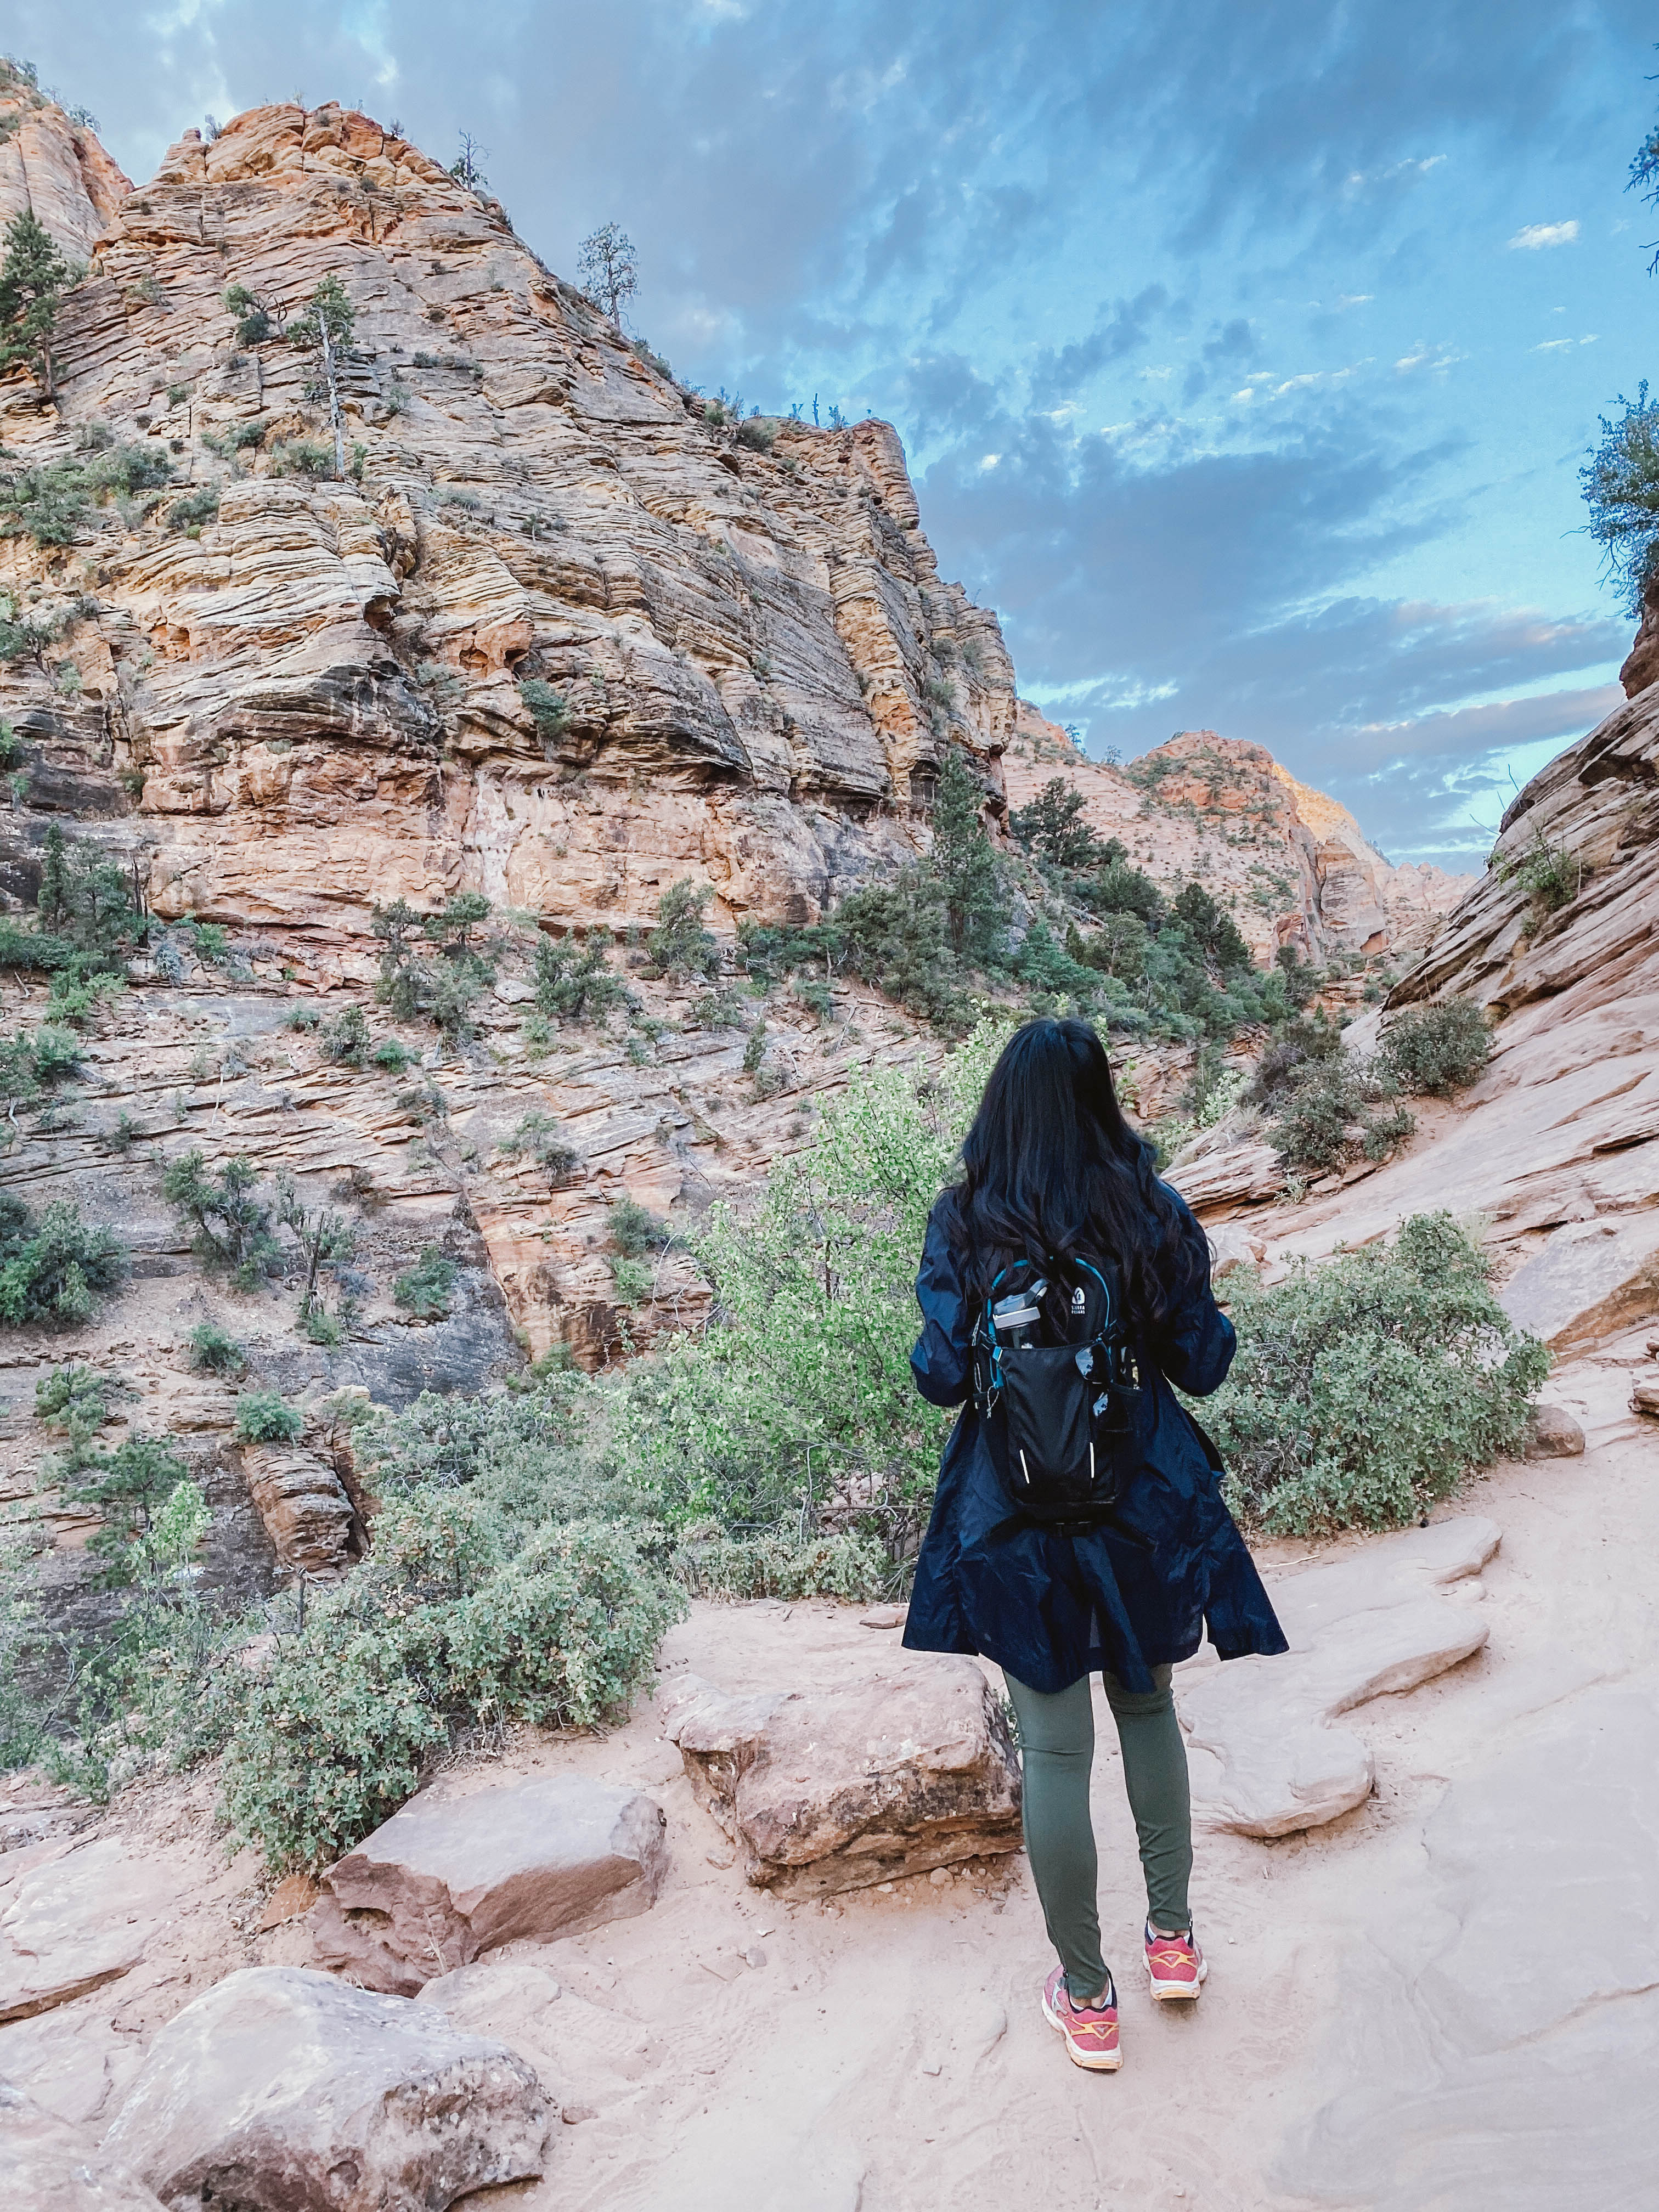
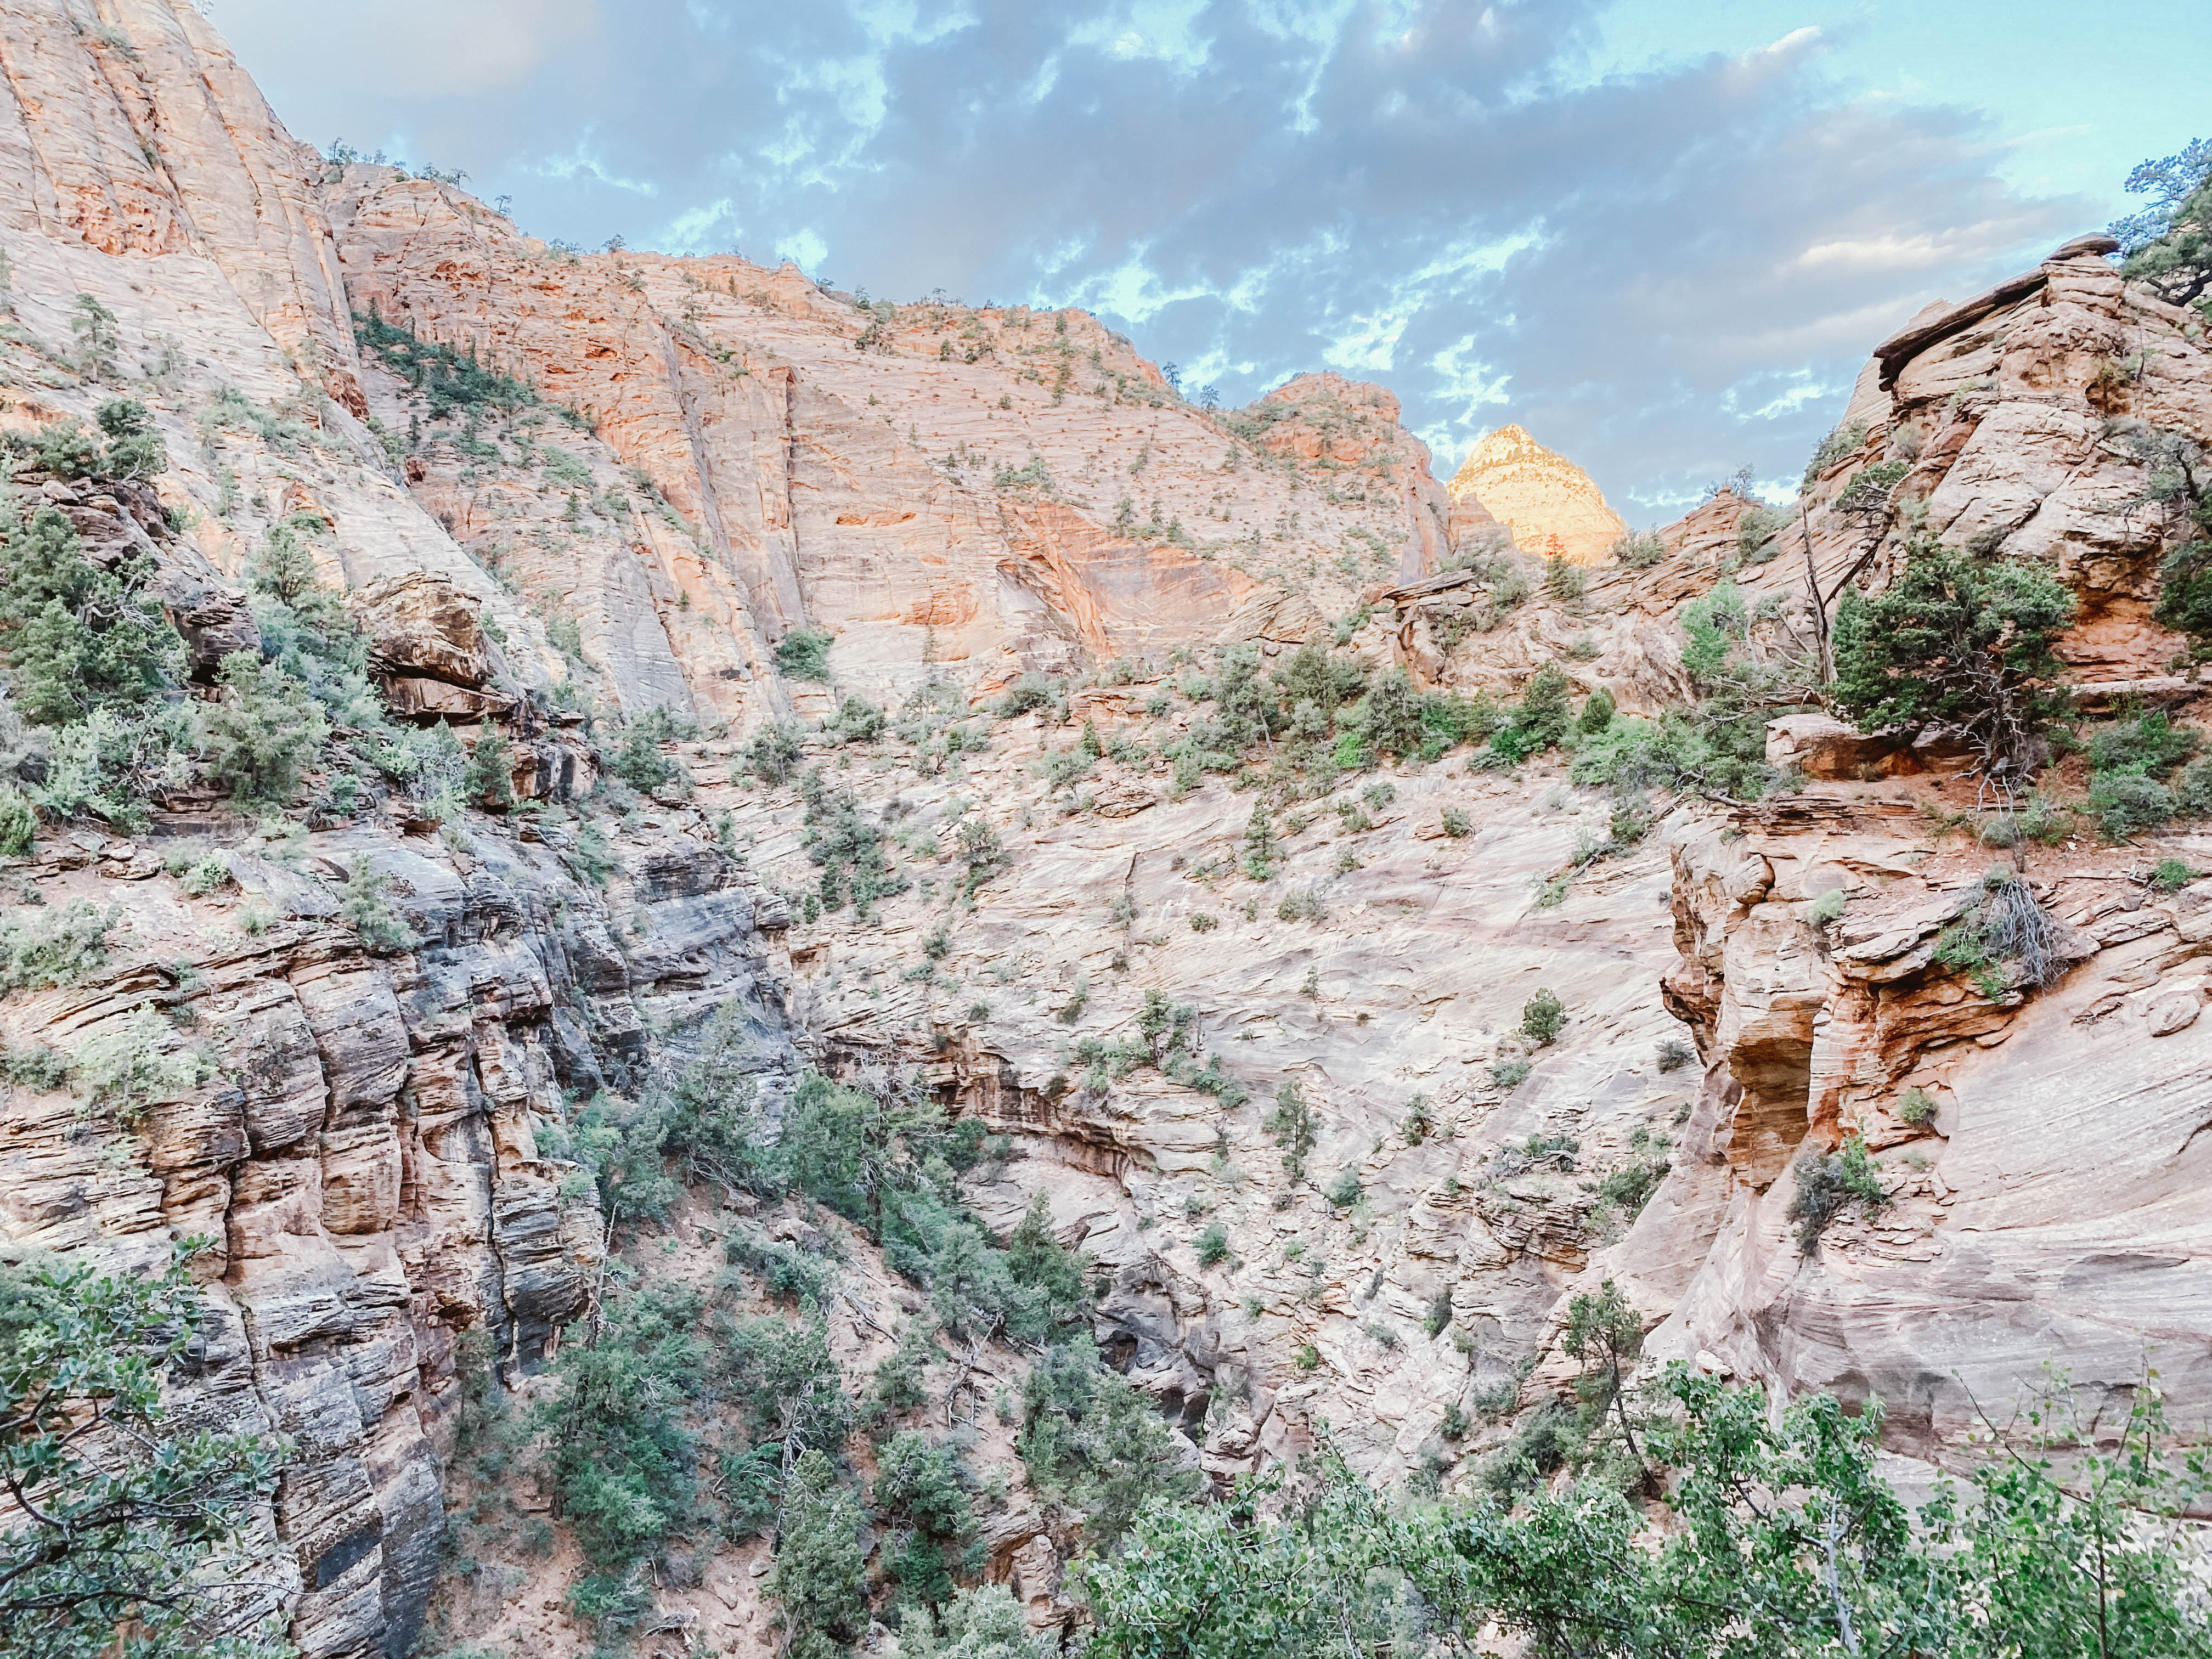
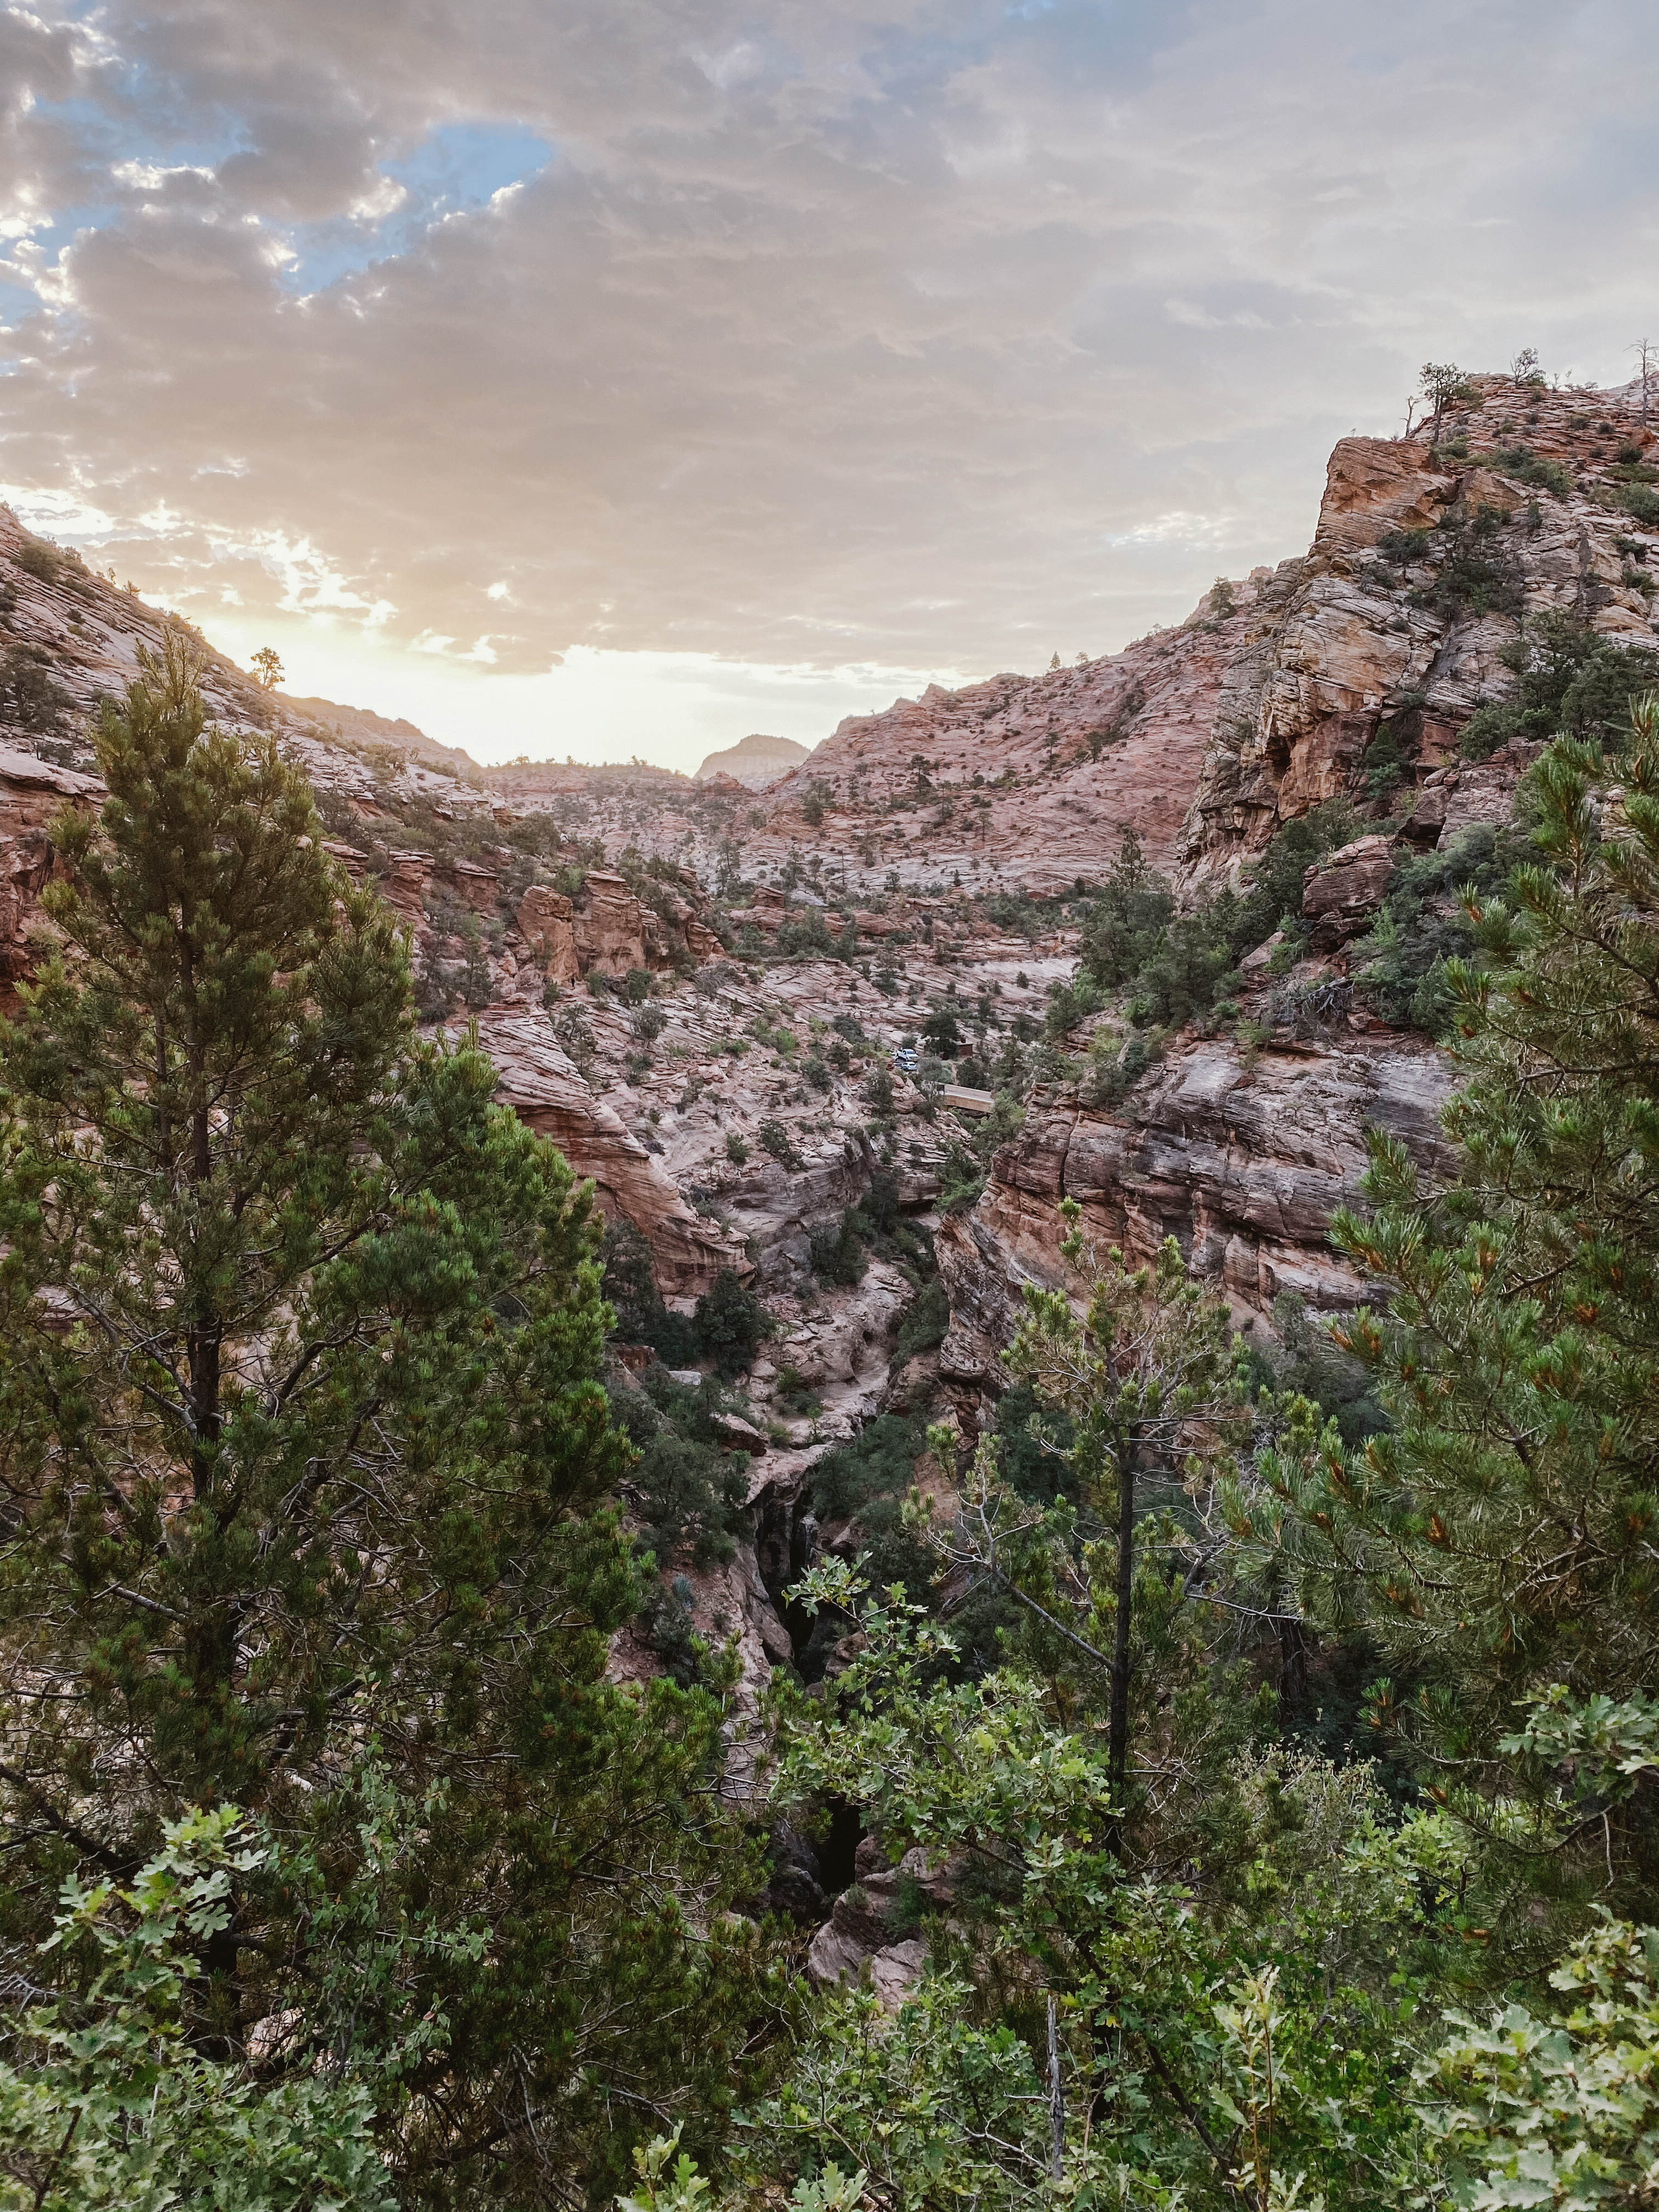
 To get to the Zion Overlook trail you will need a car. The drive there was epic and you get to go through the Zion tunnel too! The trail itself was very easy. We were only there for 1 hour and that was plenty of time for the hike, photos, and taking in the views. We even saw an elopement happening which was so awesome!
After you are done with the Zion Overlook hike, make your way back to service by 9 am to purchase tomorrow’s shuttle bus ticket before you start the Watchman Trail!
 The Watchman Trail
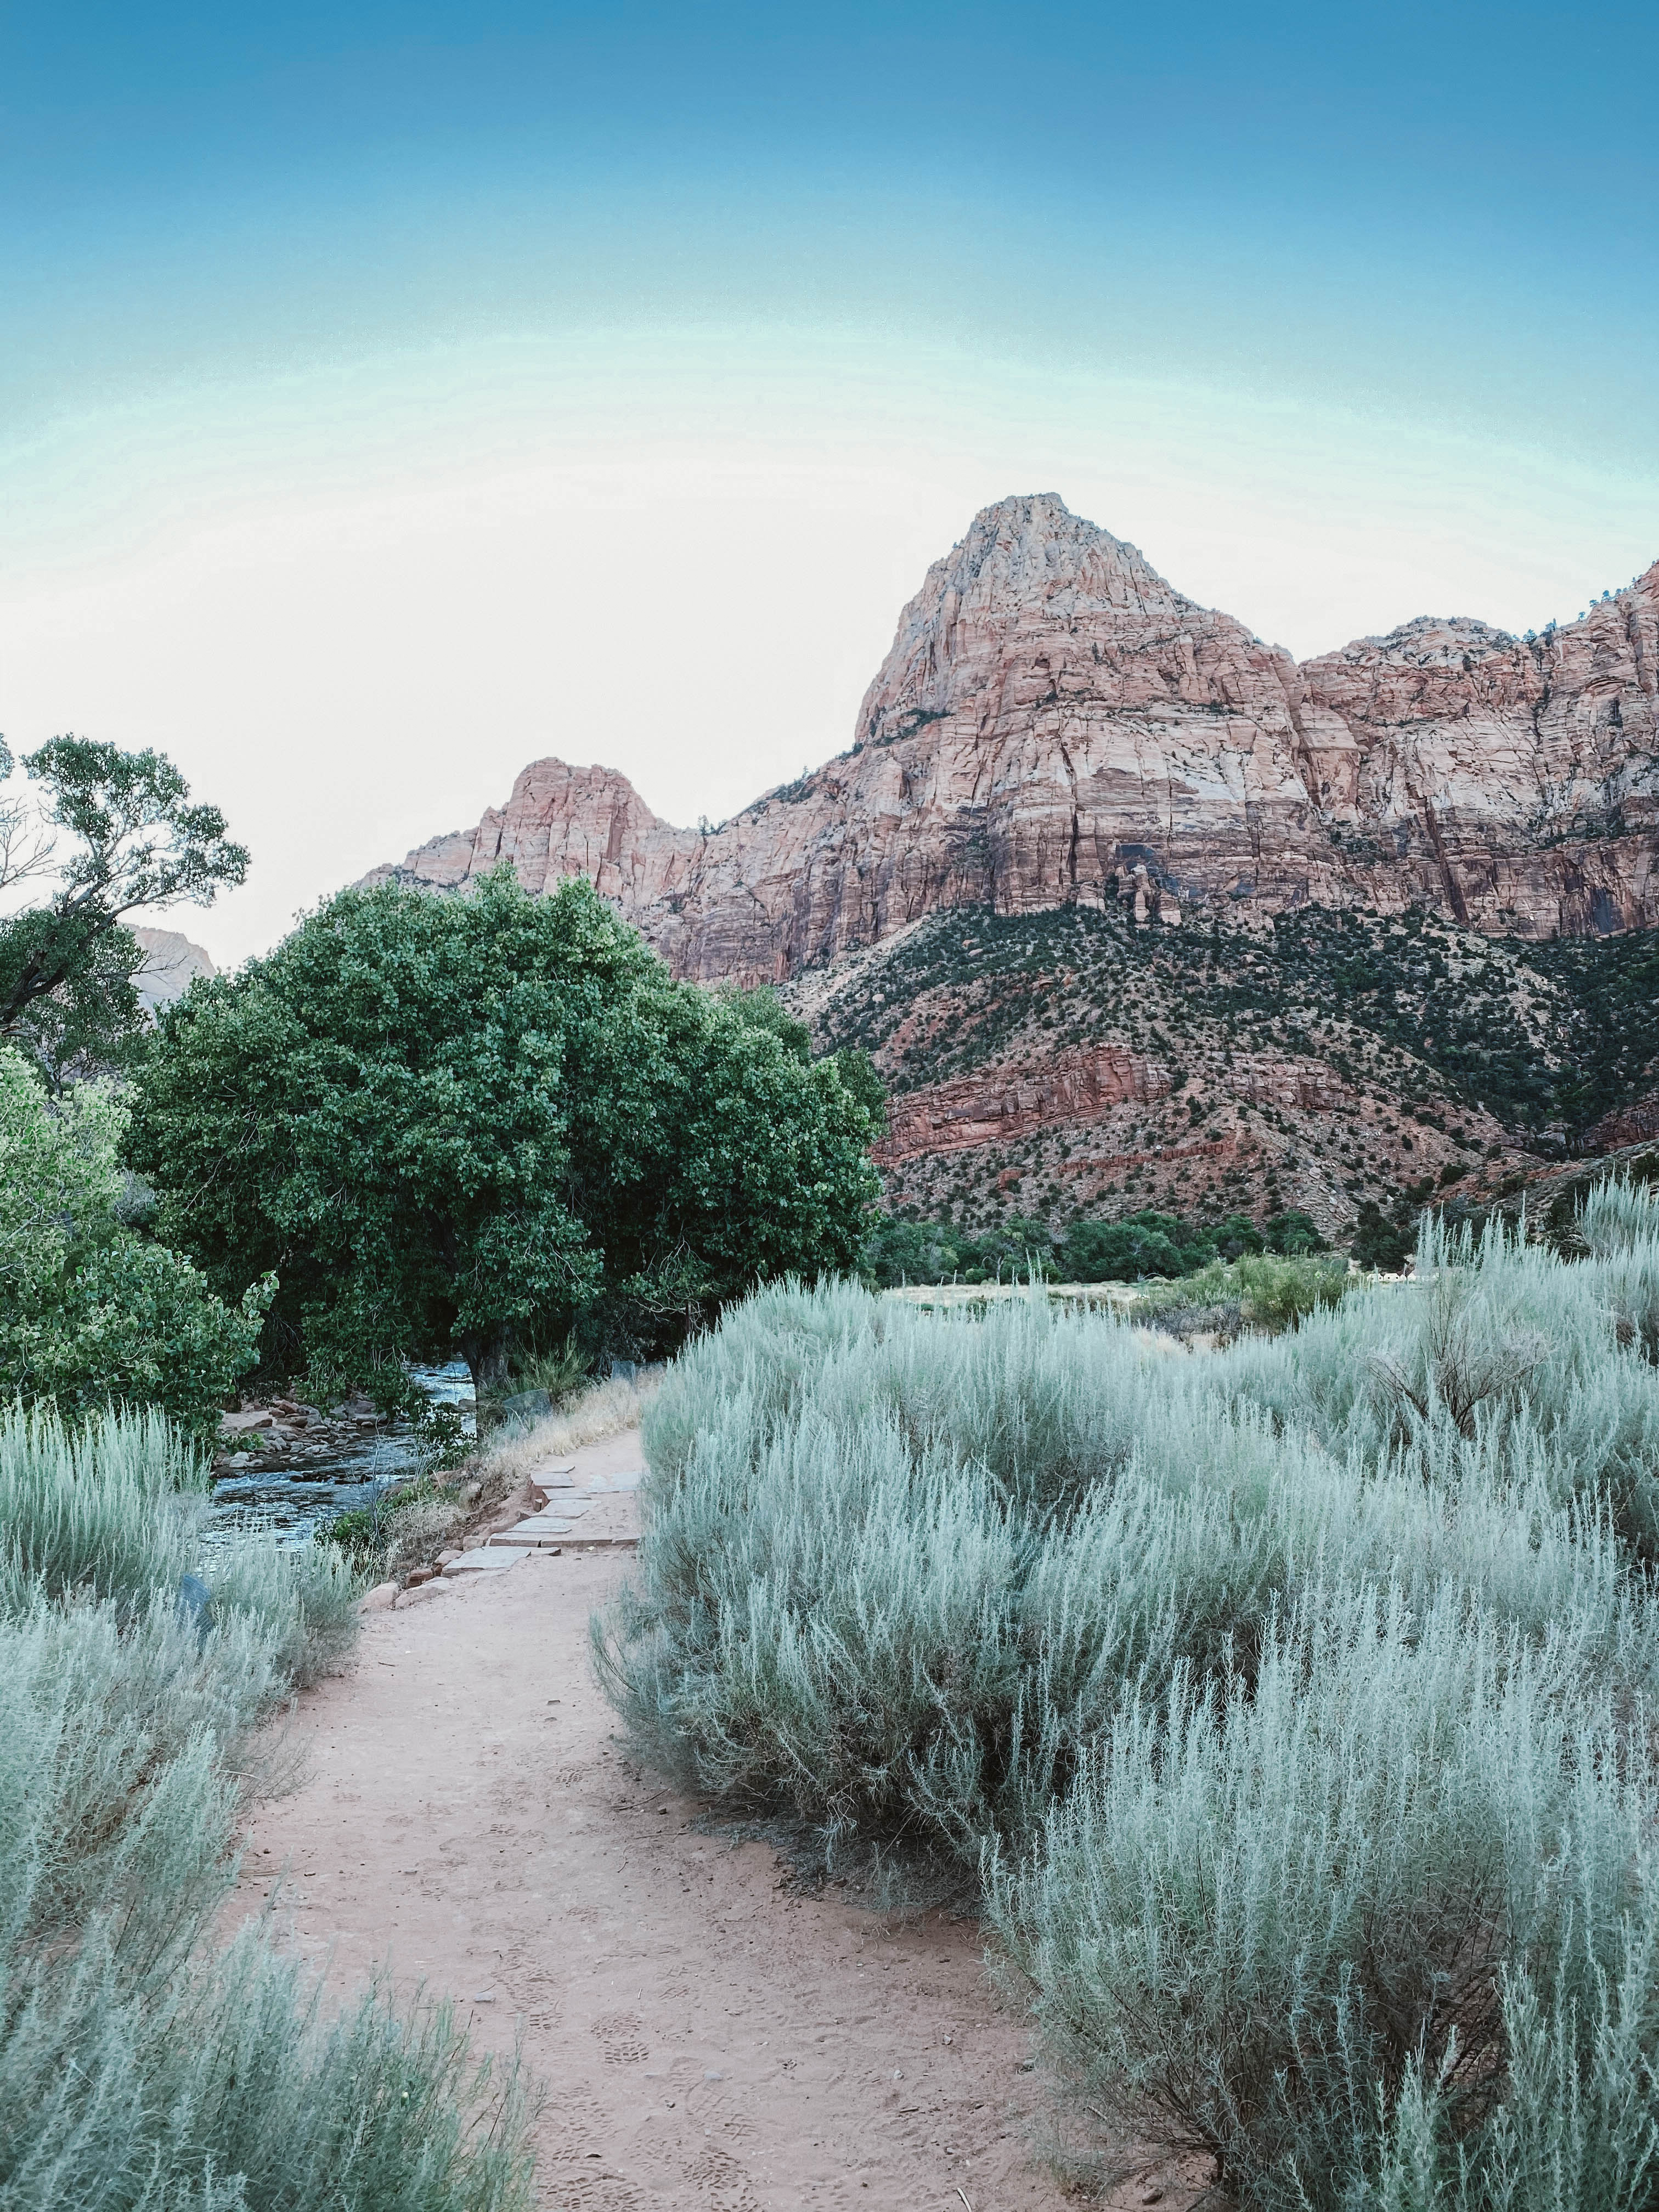
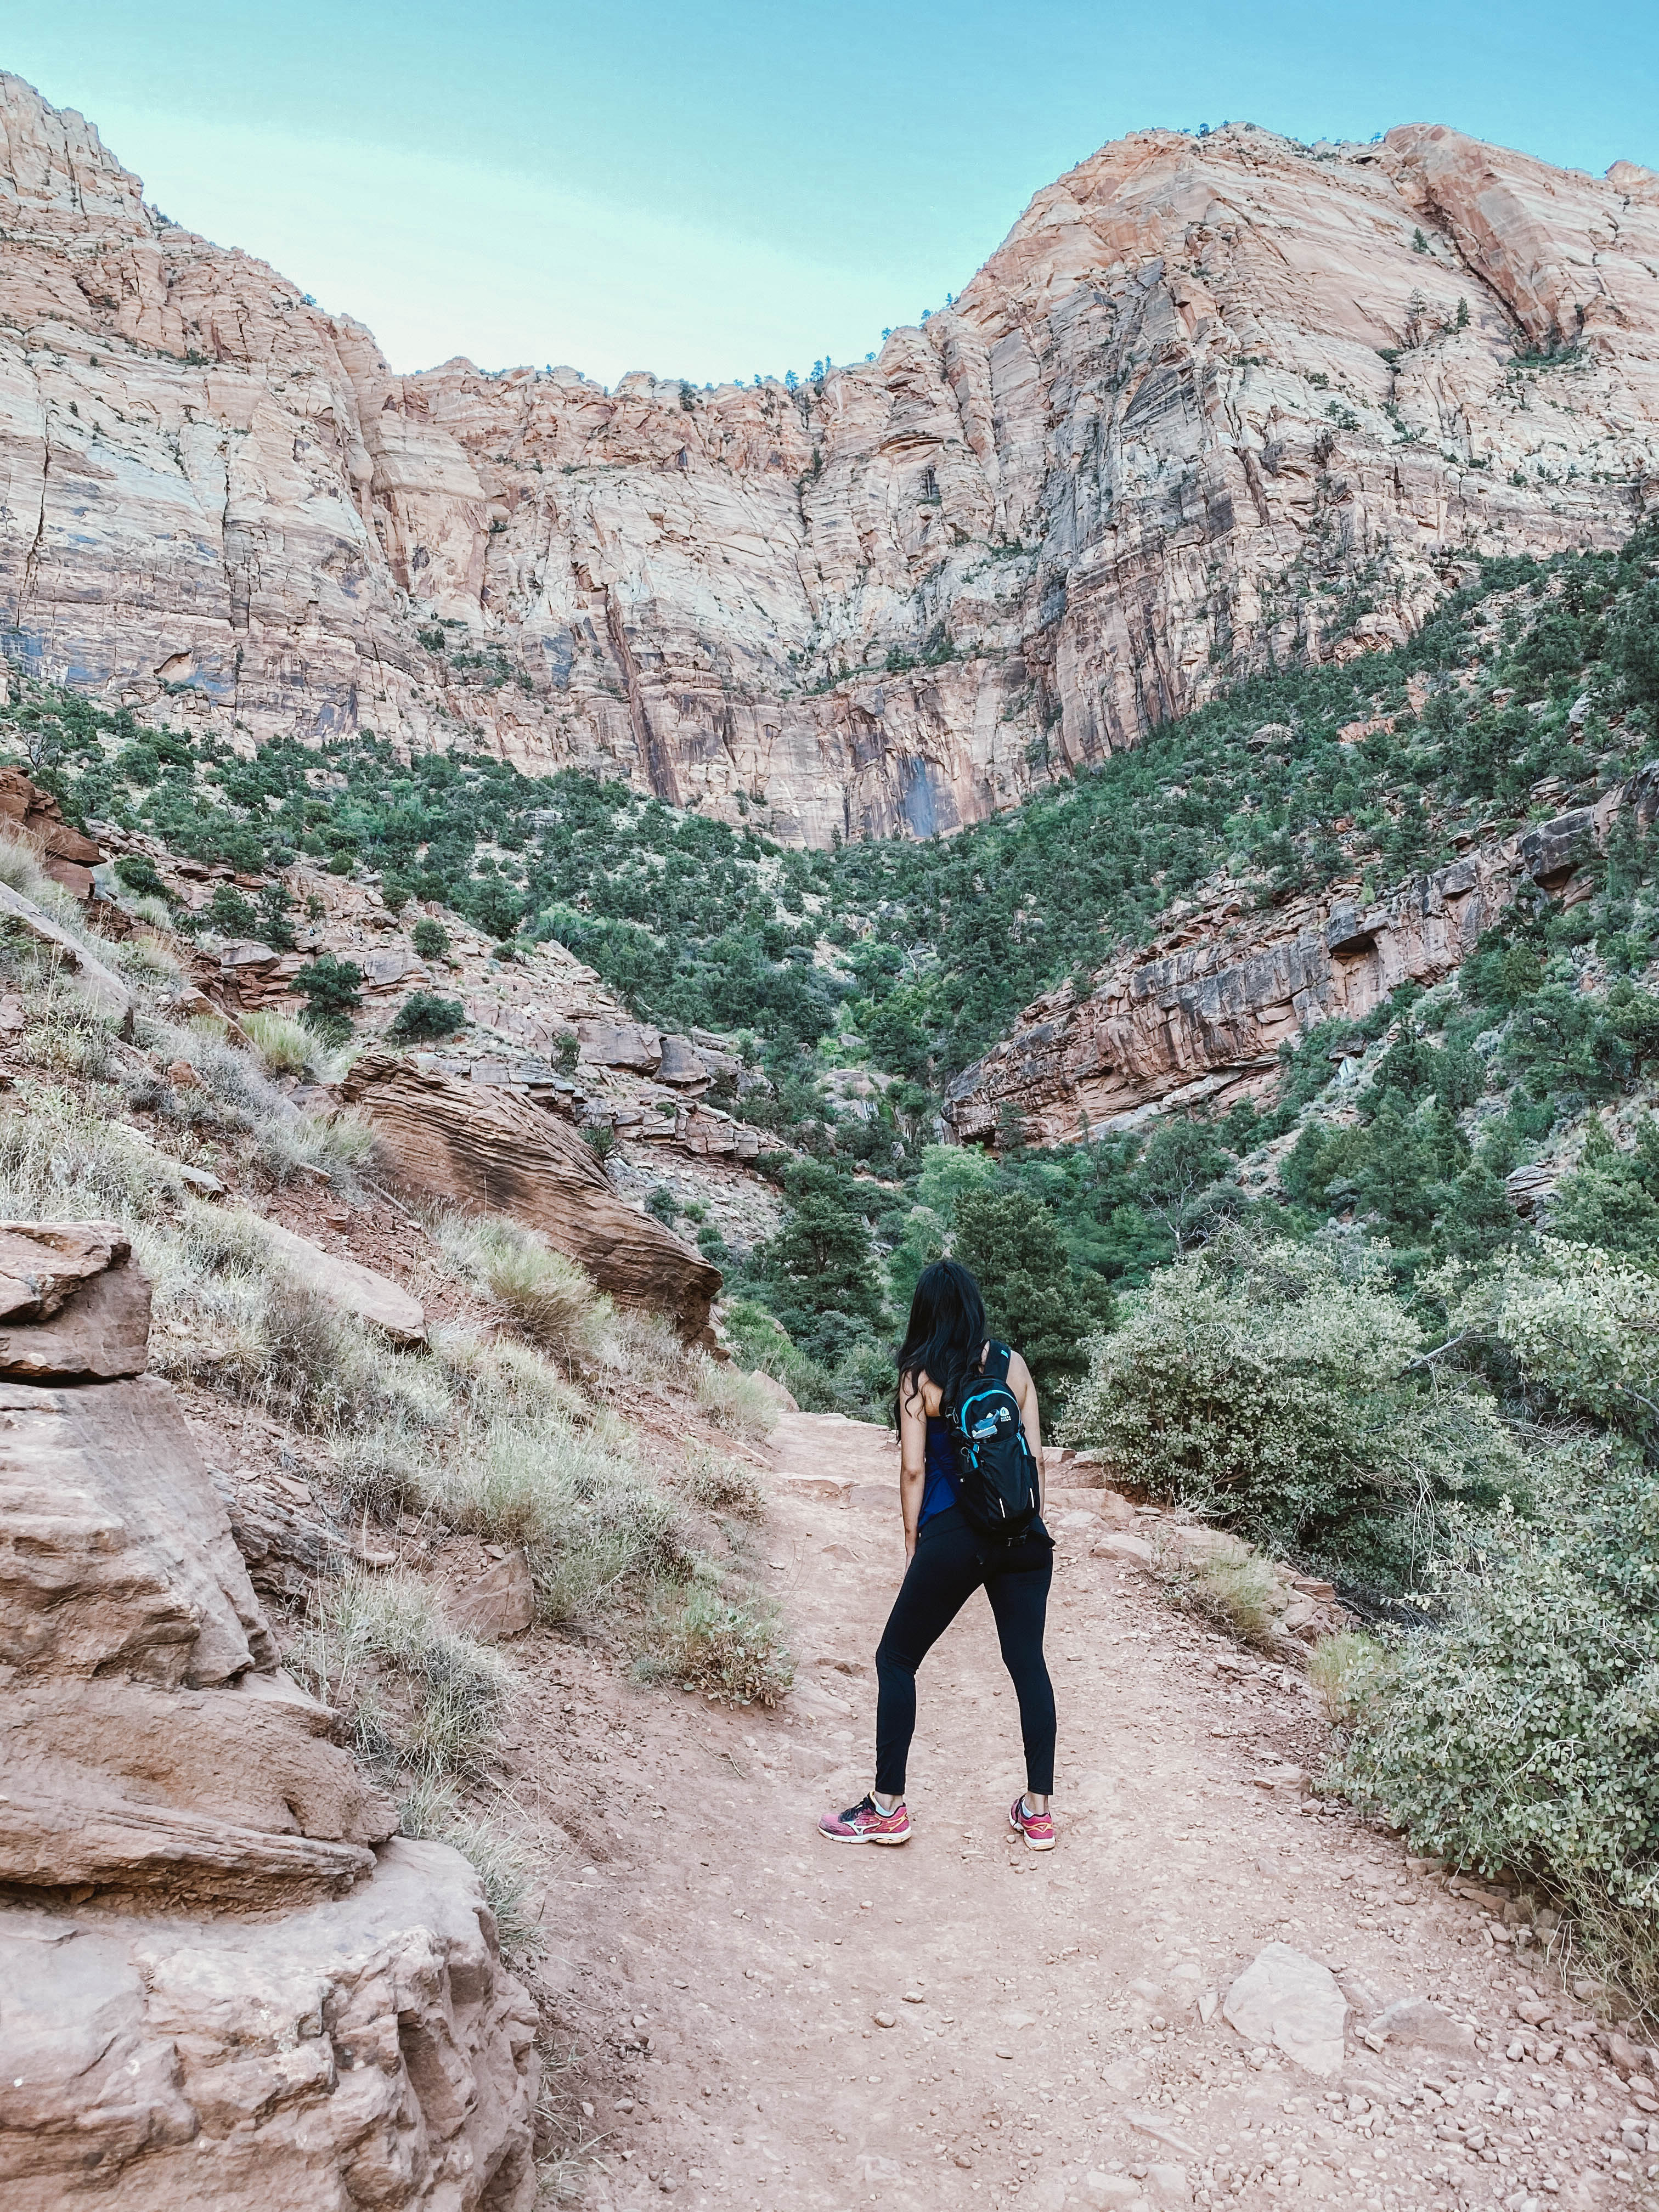
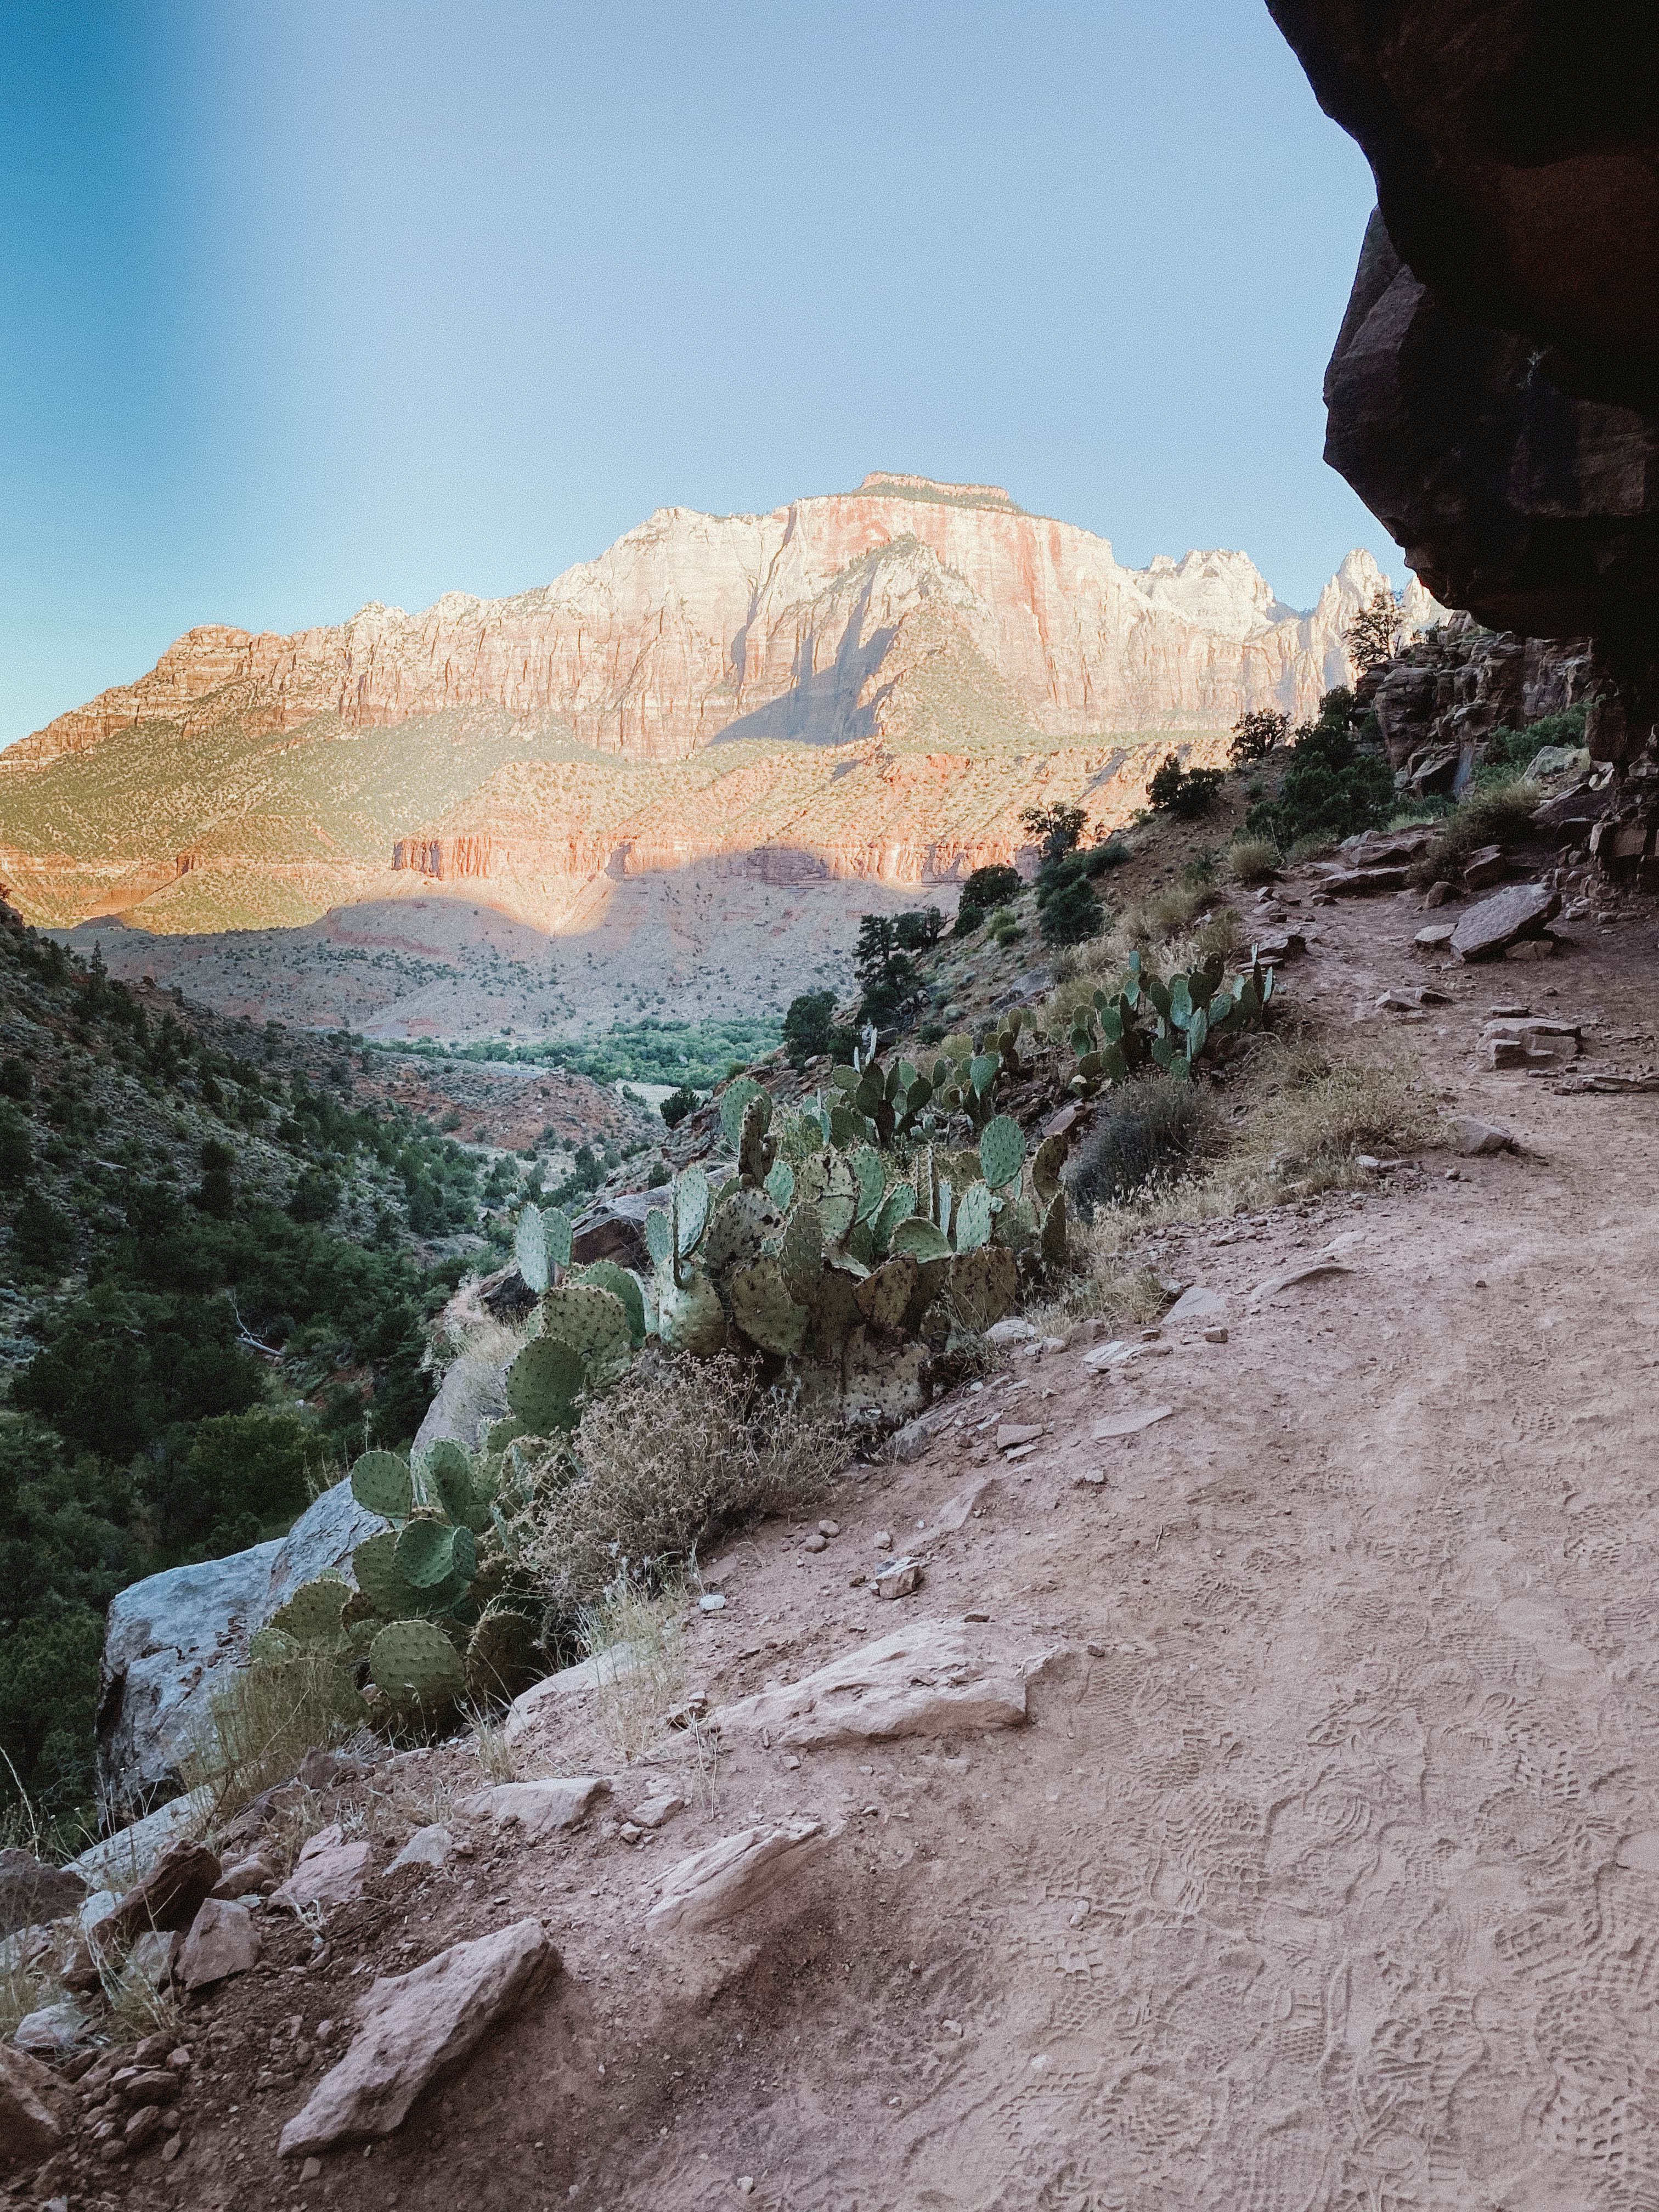
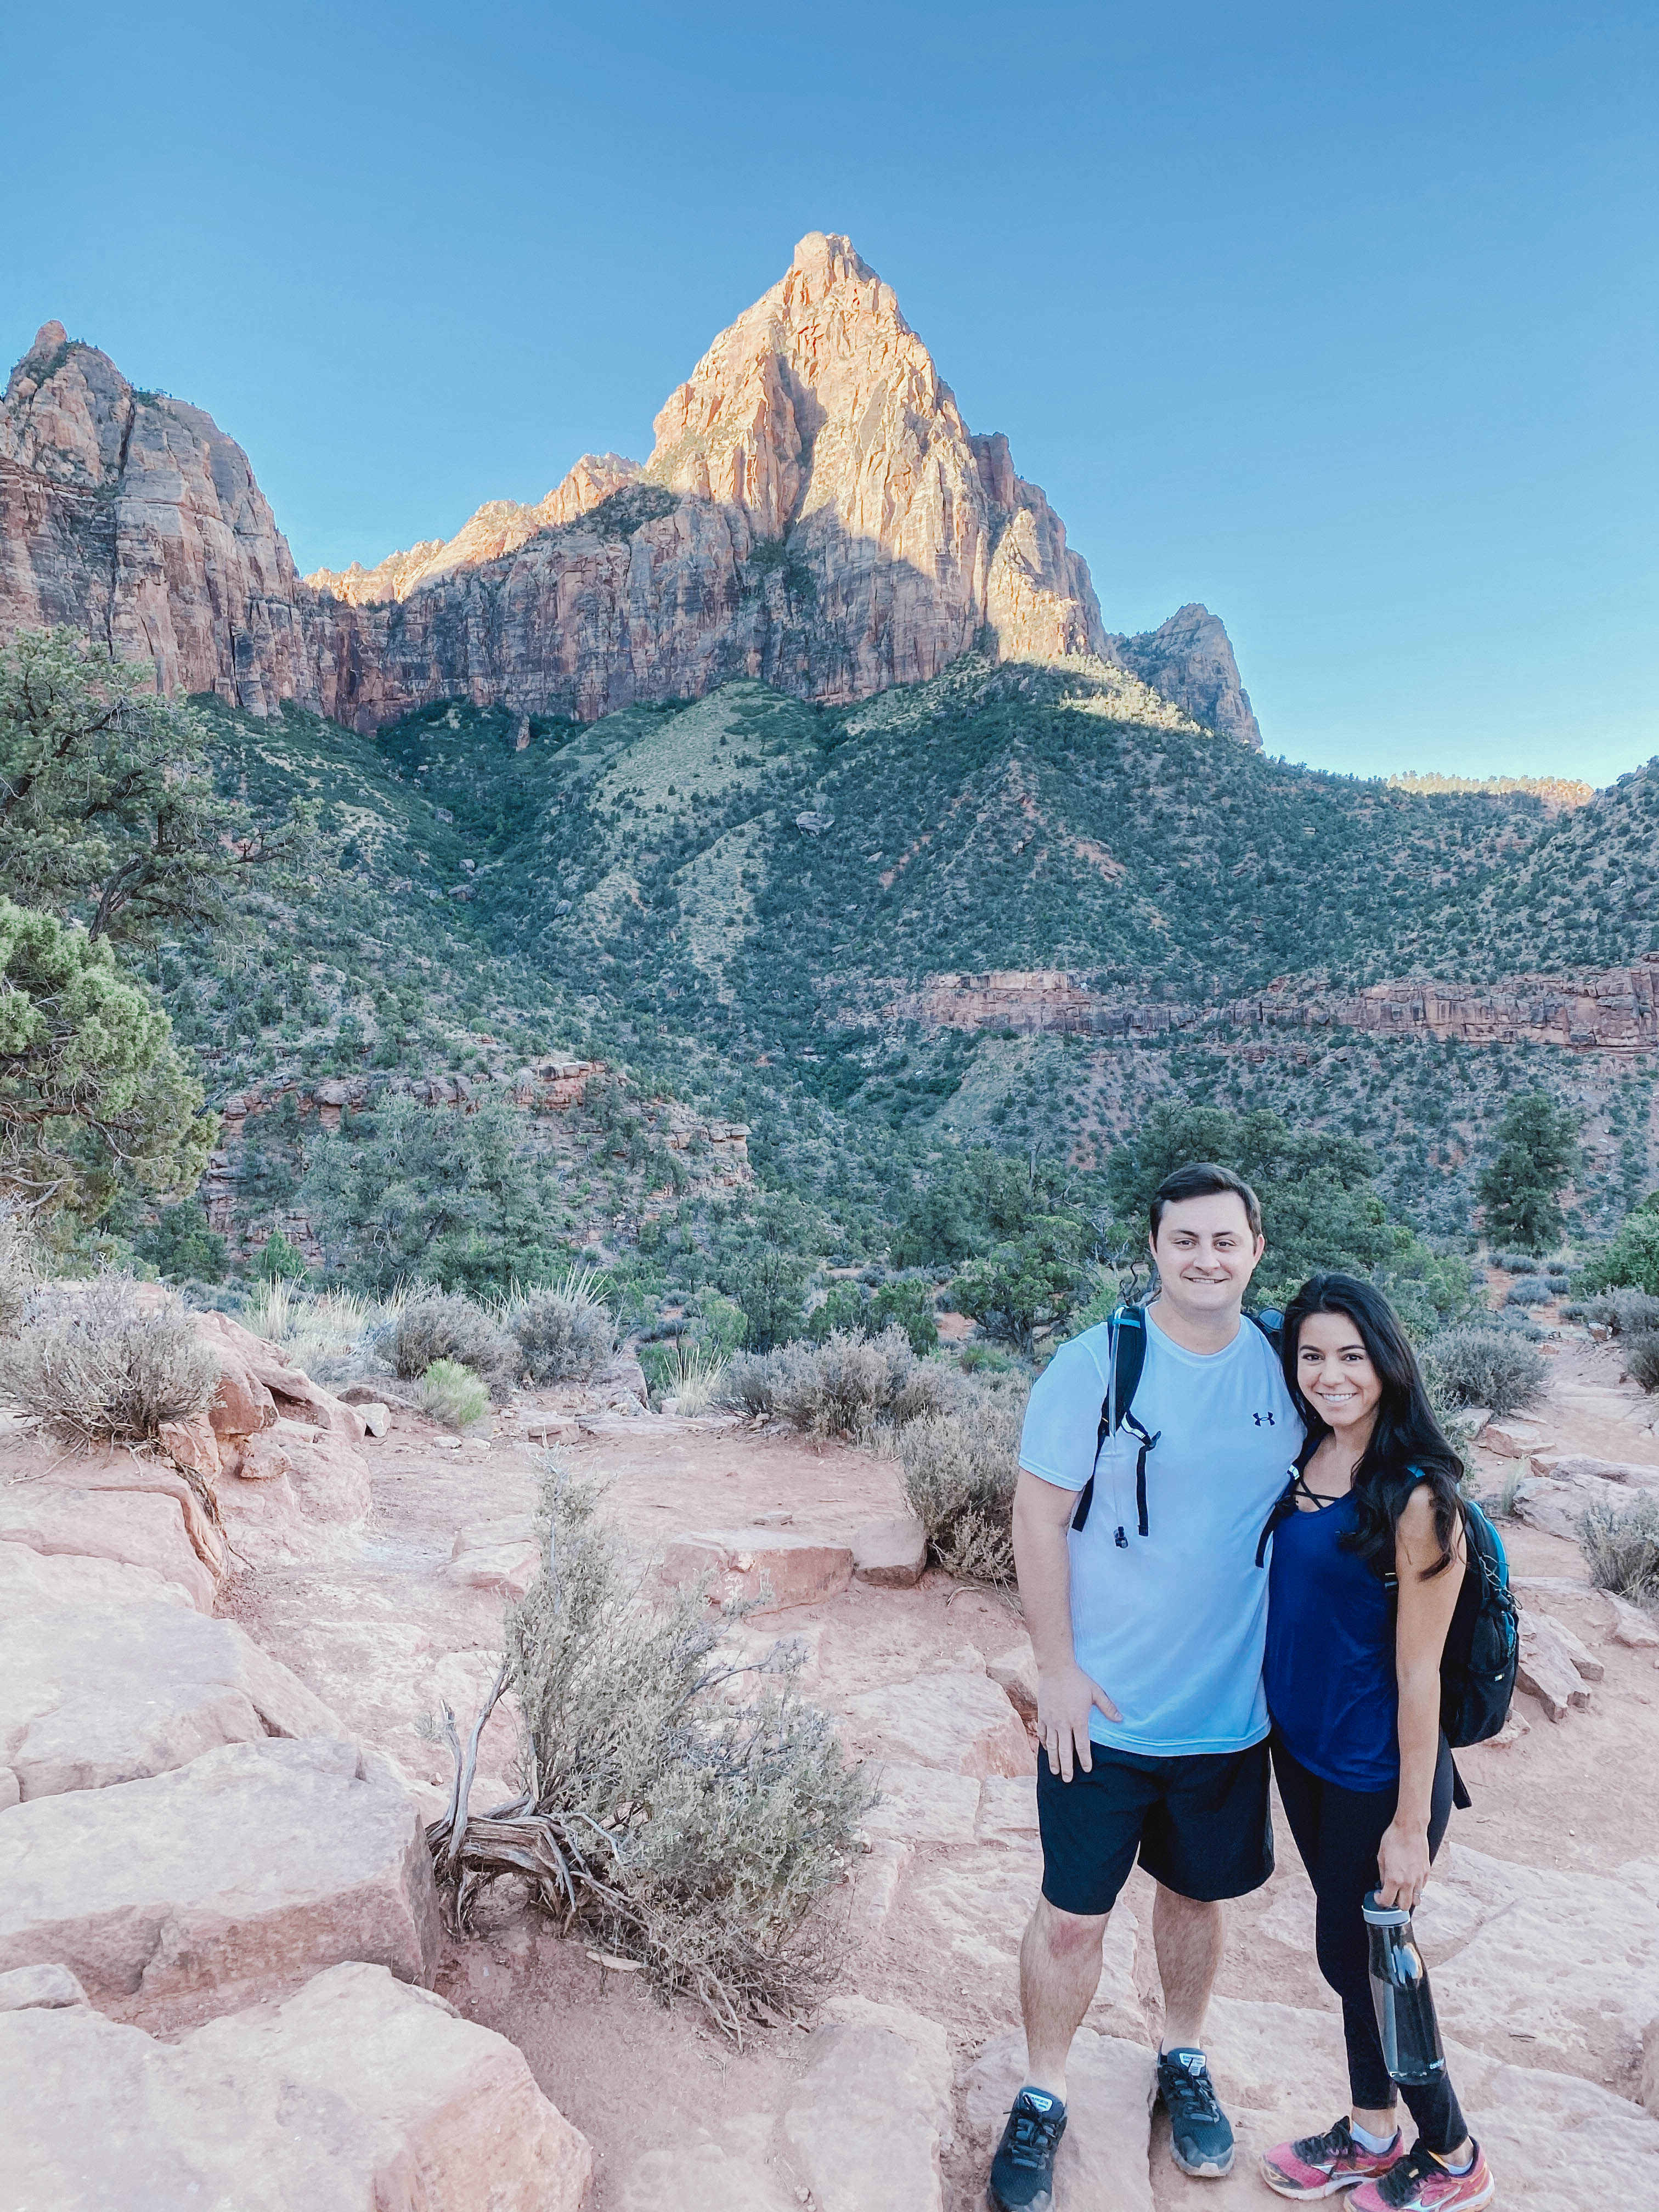
The watchman trail begins within the Visitors Center so you will not need a car or the shuttle bus for this one either. You will pass through a small canyon and as you gain elevation you will start to see the most beautiful views of the valley below. Once you make it to the viewpoint you get full 360 views of the rock formations surrounding you as well as the valley below! Be on the lookout for some cool birds! We saw a turkey vulture while we were there. This is an easy hike that will only take you about 2 hours round trip to complete.
 Day 3 – Scout’s Lookout Hike (Shuttle Bus Required)
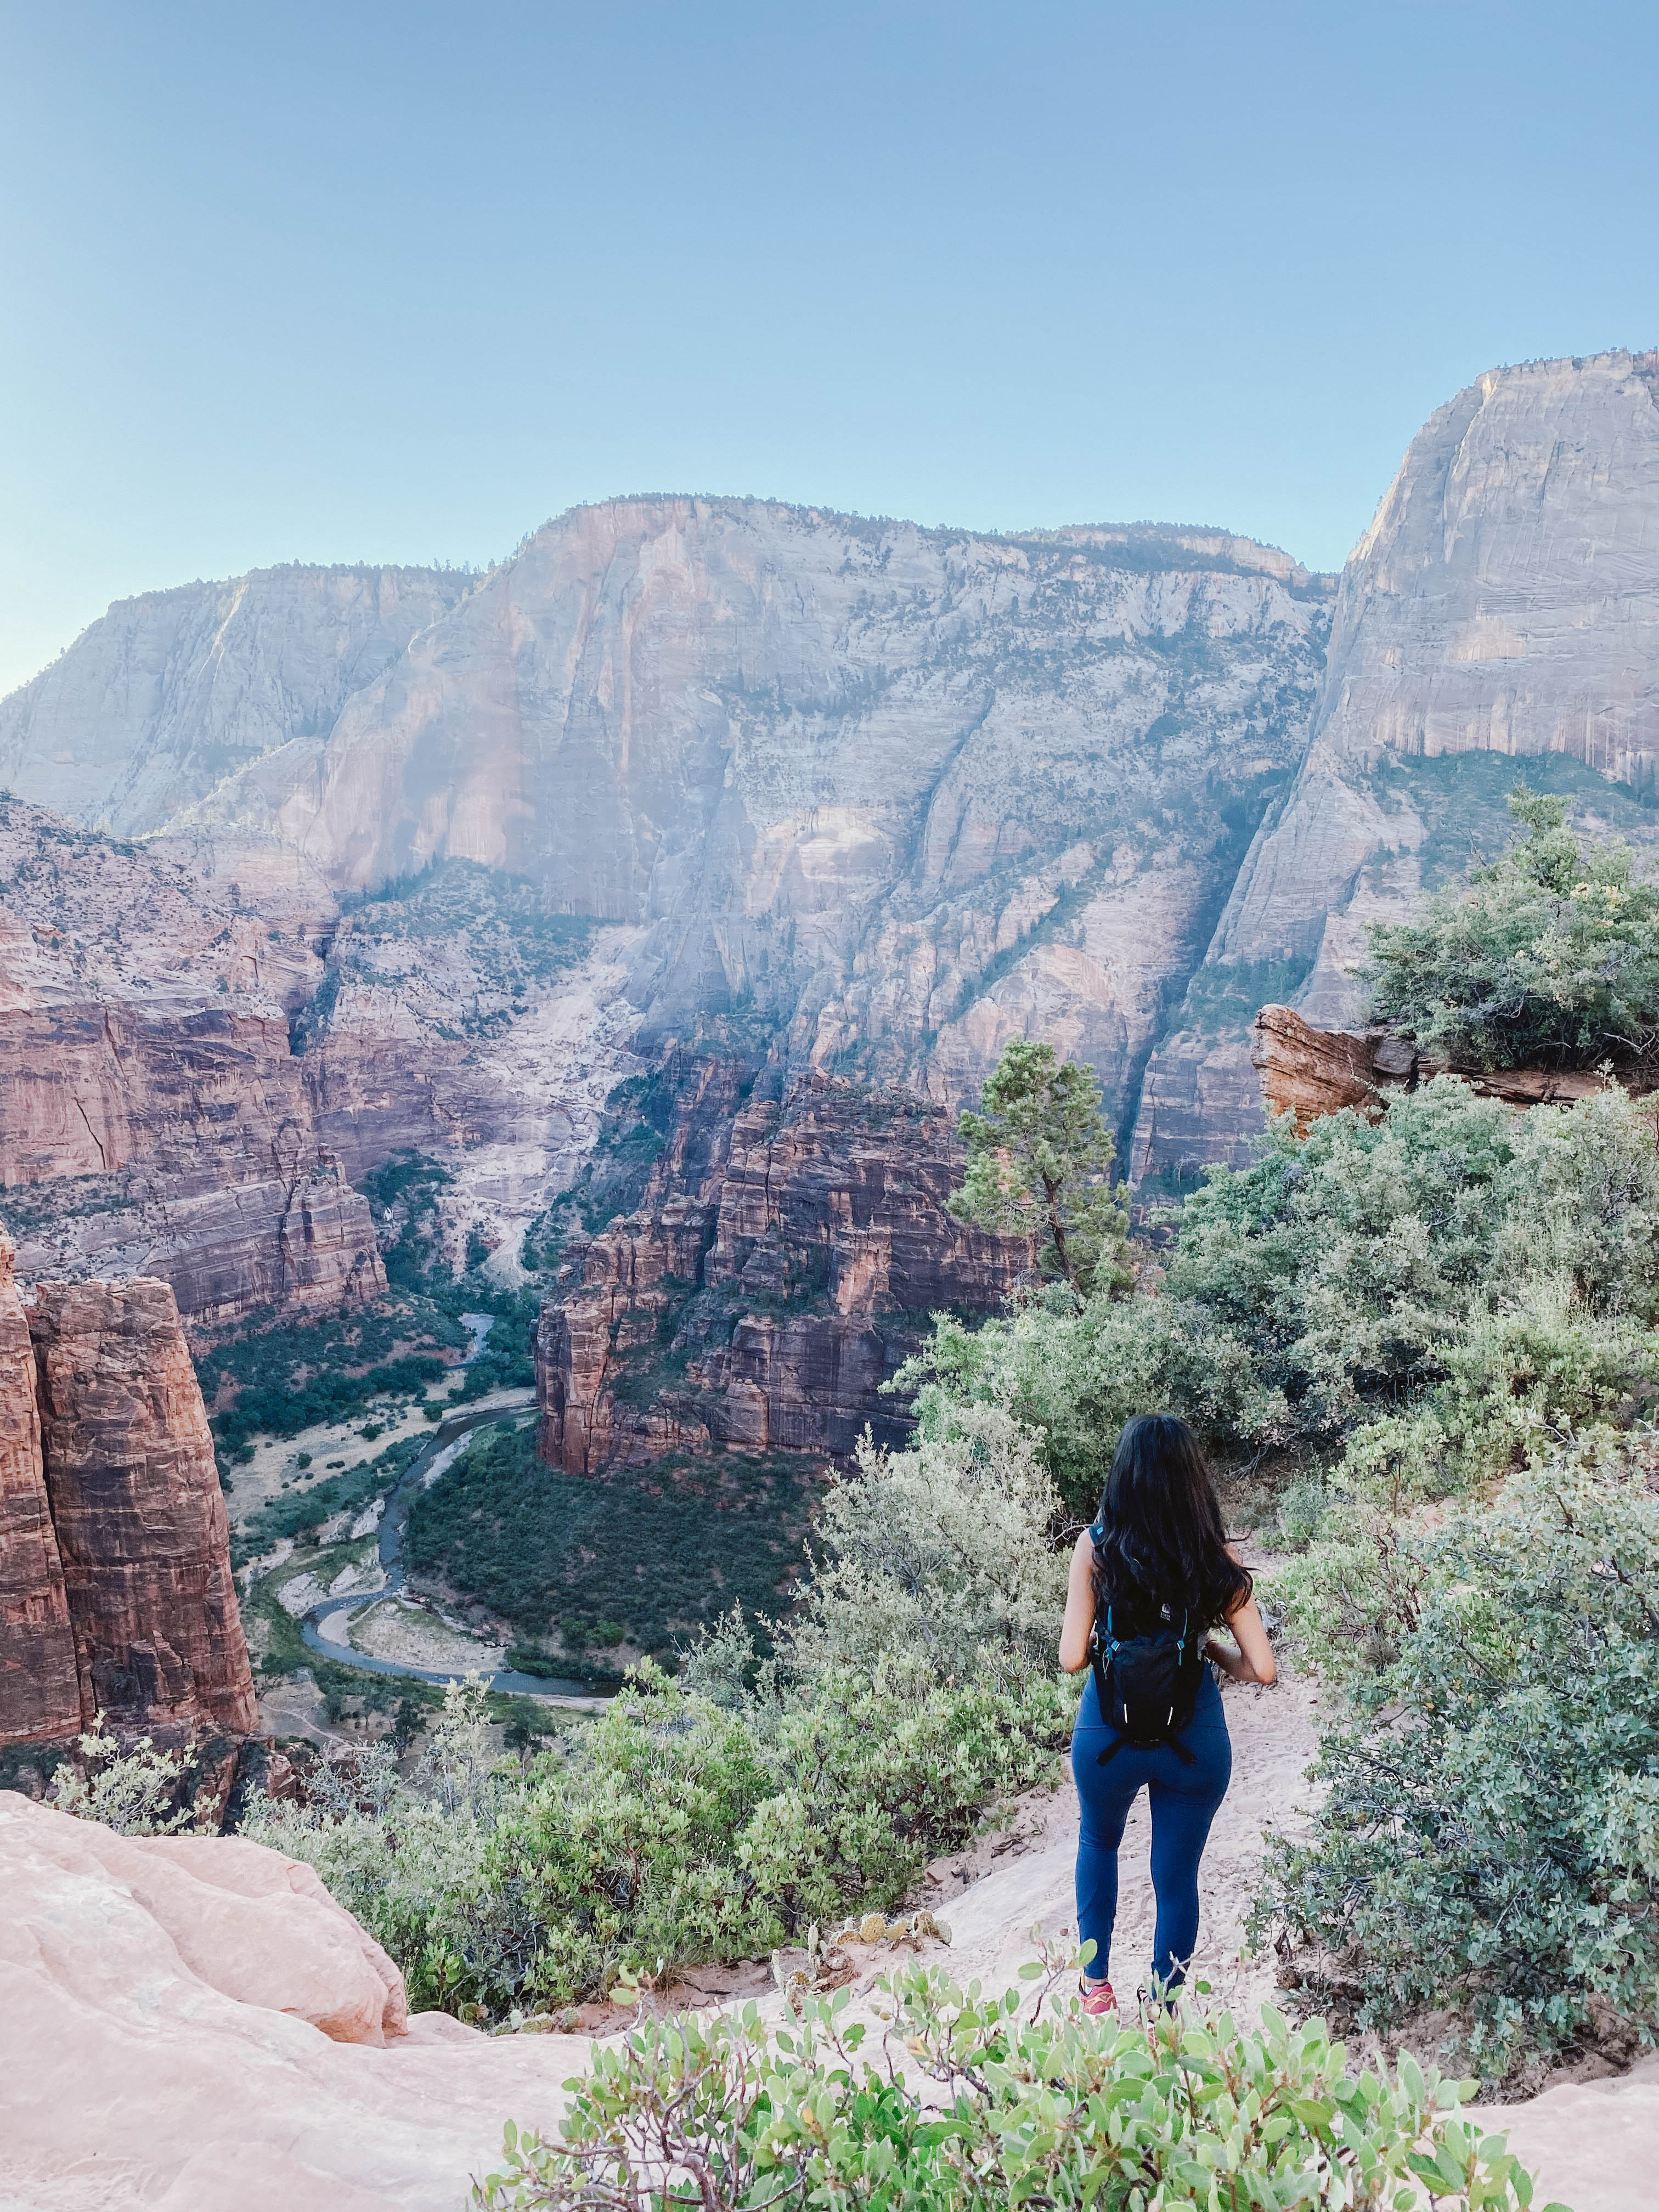
Scout’s Lookout is one of Zion’s most popular trails! You might have heard of it as the trail that will lead you to Angel’s Landing, however Angel’s landing was closed when we visited due to Covid so we were only able to make it as far as Scout’s Lookout viewpoint. It was still so worth it as the view was amazing and you feel great after completing such a challenging hike. It is rated difficult due to how steep it is. After doing it myself I can attest that it is in fact a challenging hike! You will need to take the shuttle bus to the Grotto stop to access this trail head. We started our hike at 6 am and were the first people on the trail. Shortly after starting we realized that it gets steep very fast and you will also gain elevation very quickly!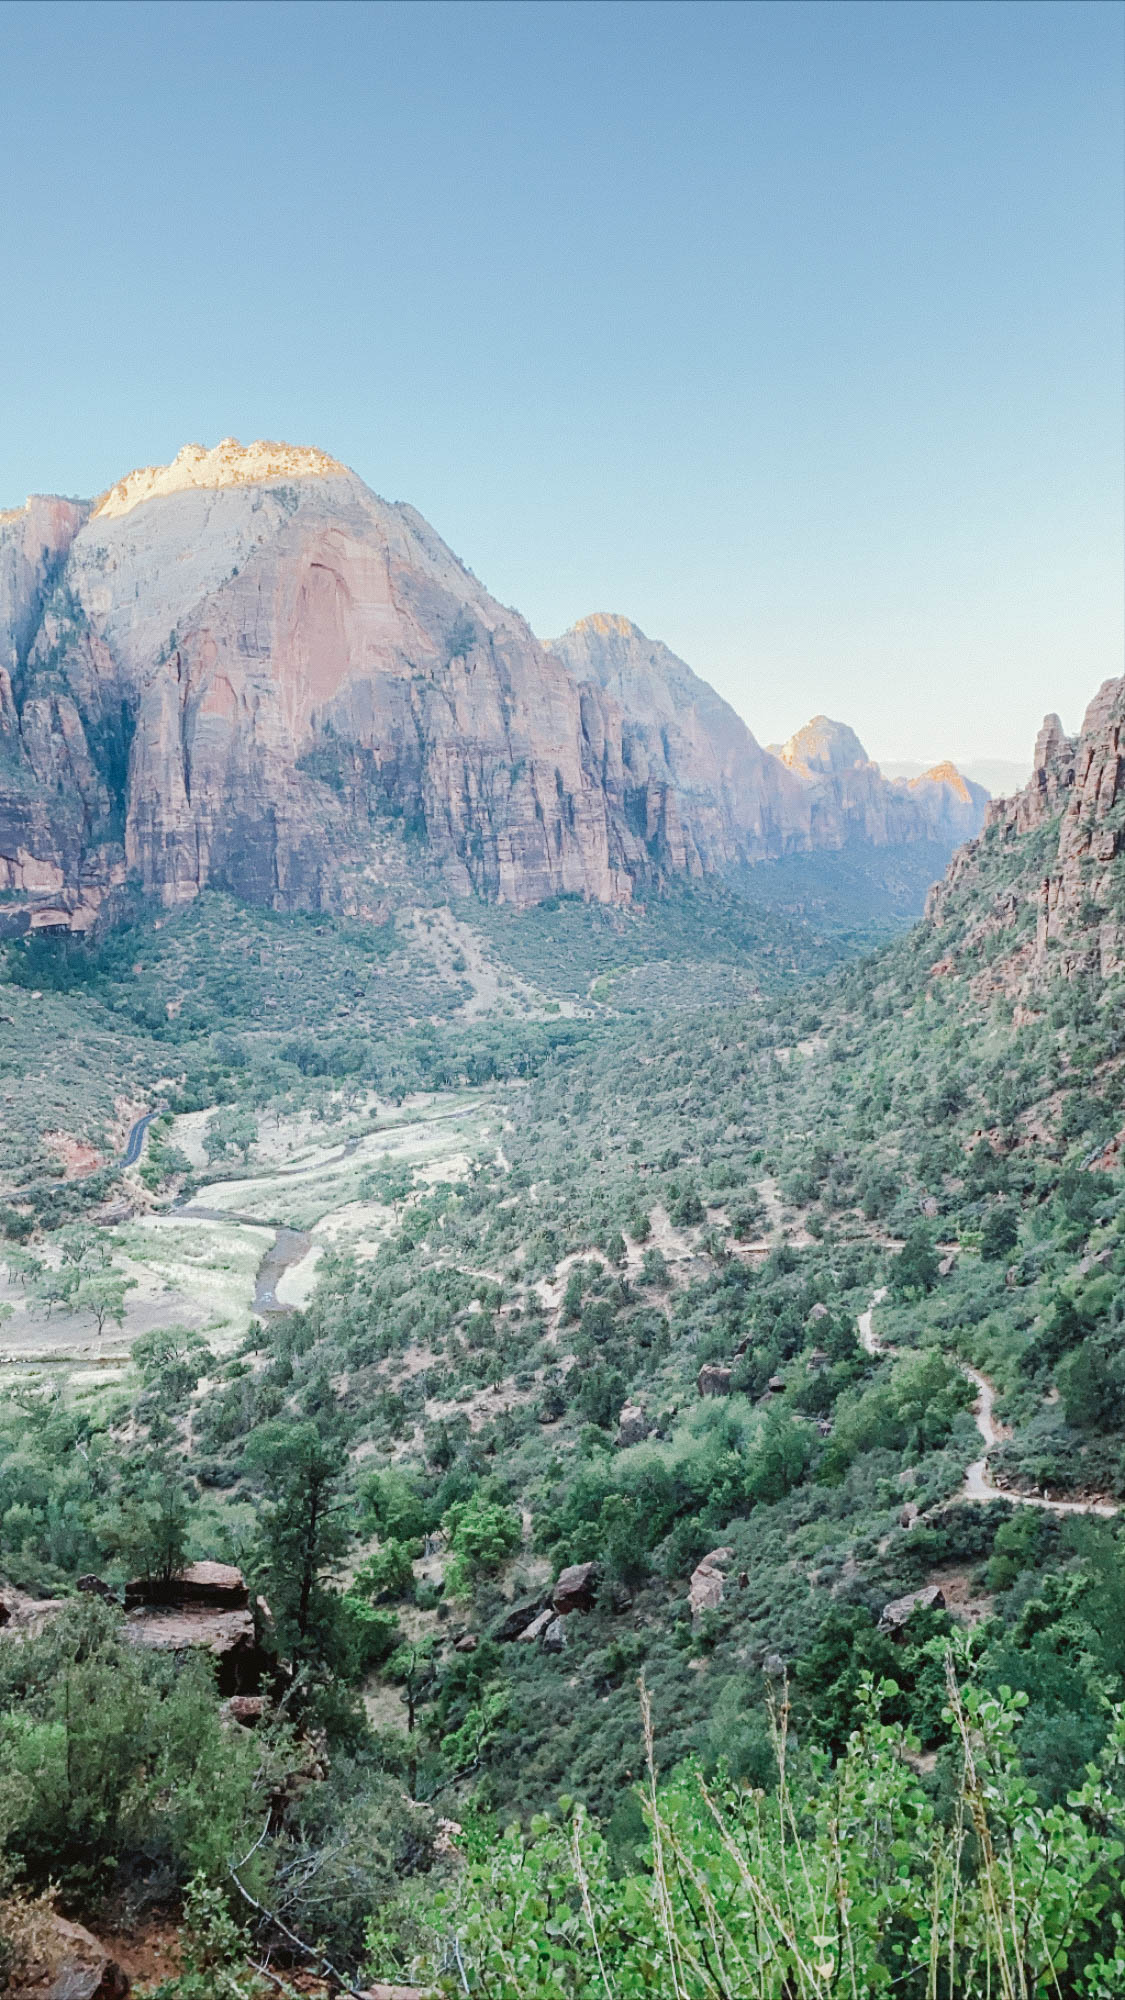
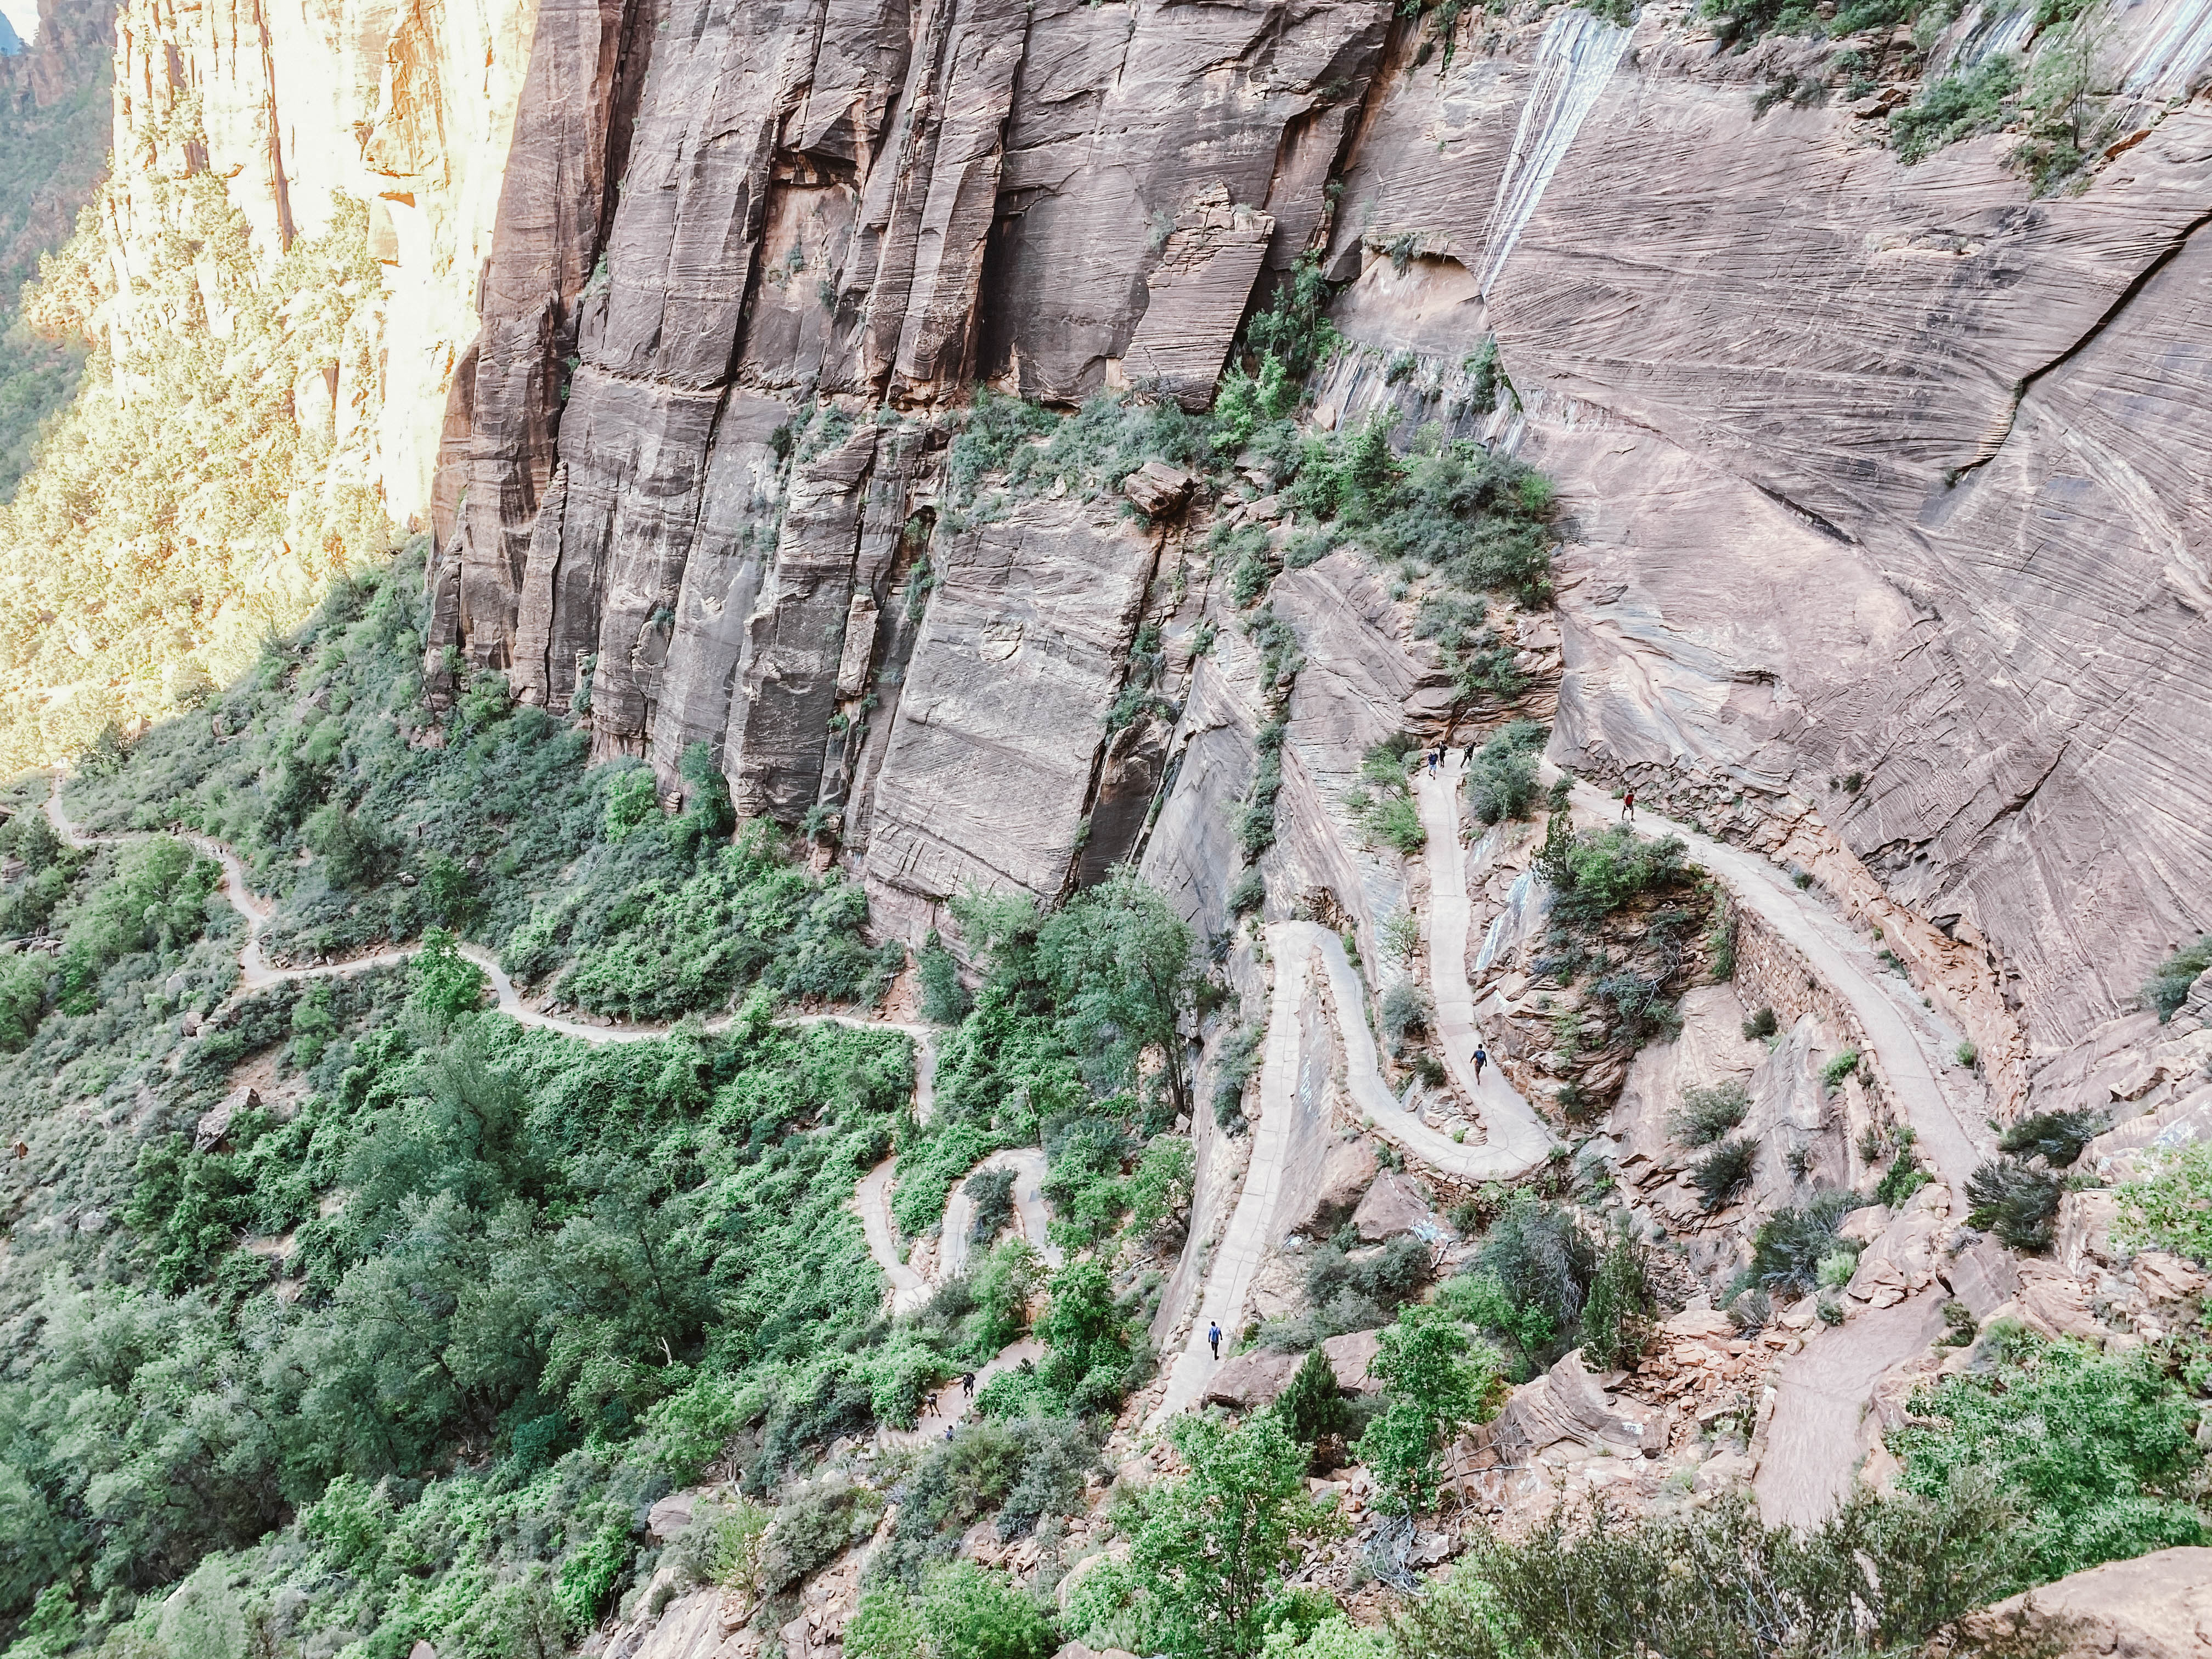
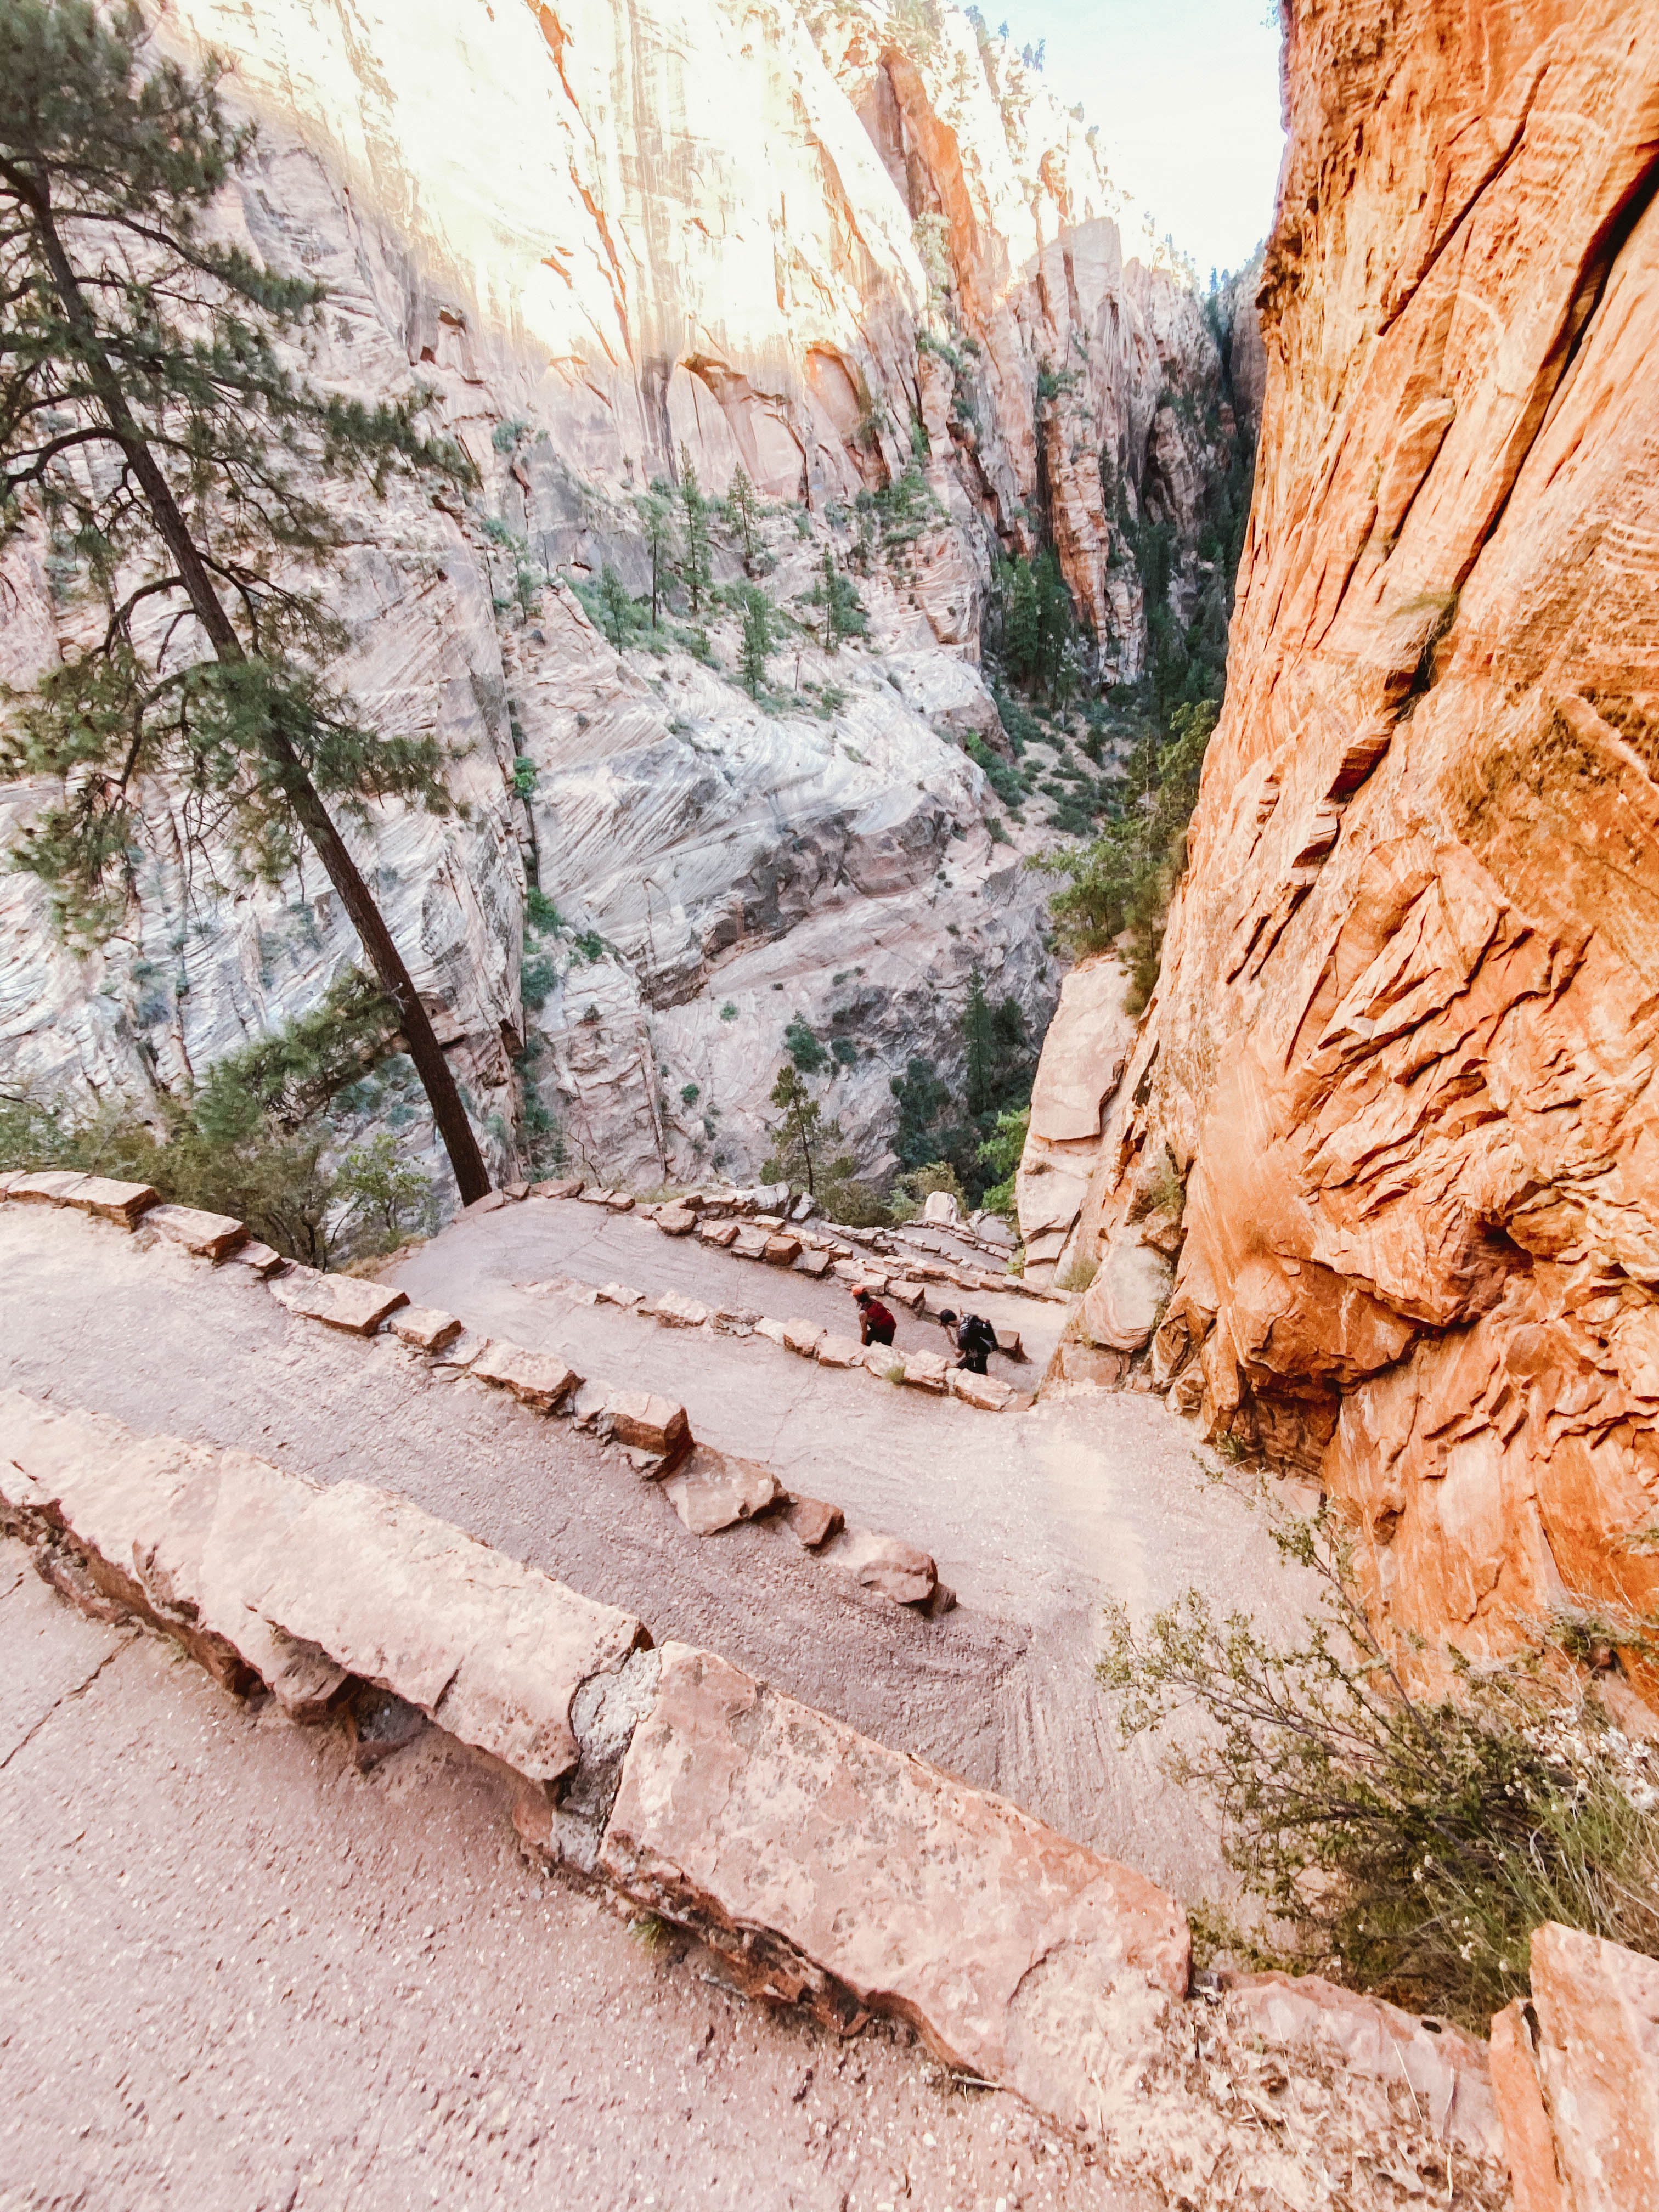 The views get better and better the higher up you go! This trail includes several fun switchbacks including 21 steep switchbacks known as Walter Wiggles! Take my advice, don’t count them as you go. All together I would say we spent 3.5 hours completing this 4 mile trail.
***
Hope you found this guide helpful! For more Zion planning resources feel free to check out my Foodies Guide To Zion!
